How to Disconnect Smoke Detector?
Smoke detectors save lives every day across America. These small devices protect millions of families from fire-related dangers. However, situations arise when you need to temporarily disconnect your smoke alarm. False alarms during cooking, renovation work, or battery replacement often require temporary disconnection.
This comprehensive guide walks you through the safe process of disconnecting different types of smoke detectors. You’ll learn about safety precautions, legal considerations, and step-by-step procedures for various detector models.
Before You Begin: Critical Safety Information
Never disconnect smoke detectors permanently. Fire safety experts emphasize that functional smoke alarms reduce fire death risk by 50%. The National Fire Protection Association reports that three out of five home fire deaths occur in homes without working smoke alarms.
Disconnecting smoke detectors should only happen for:
- Temporary maintenance work
- Battery replacement procedures
- Silencing false alarms safely
- Construction or renovation activities
Always reconnect your smoke detector immediately after completing your task. Set reminders on your phone to ensure you don’t forget this crucial step.
Types of Smoke Detectors
Battery-Powered Smoke Detectors
Battery-operated units run entirely on internal batteries. These models are easier to disconnect since they don’t connect to your home’s electrical system. Most residential properties use 9-volt batteries, though some newer models use AA batteries or sealed lithium units.
Hardwired Smoke Detectors
Hardwired detectors connect directly to your home’s electrical system. These units typically include backup batteries that keep them functional during power outages. Hardwired systems often interconnect throughout the house, meaning one alarm can trigger all connected units.
Smart Smoke Detectors
Modern smart detectors combine traditional smoke detection with Wi-Fi connectivity. These units send alerts to your smartphone and often integrate with home security systems. They may be battery-powered or hardwired with smart features added.
Tools and Materials Needed
Gather these items before starting any disconnection procedure:
Basic Tools:
- Screwdriver (flathead and Phillips head)
- Step ladder or sturdy chair
- Flashlight or headlamp
- Needle-nose pliers
- Voltage tester or multimeter
Safety Equipment:
- Safety glasses
- Non-slip shoes
- Work gloves
Replacement Parts (if needed):
- New 9V battery
- Wire nuts
- Electrical tape
Legal and Safety Considerations
Local Building Codes and Regulations
All federally assisted housing units are required to have smoke alarms are either hardwired or tamper-resistant with sealed batteries. Many states and municipalities have specific requirements for smoke detector installation and maintenance.
Check your local building codes before disconnecting any smoke detection system. Some areas prohibit temporary disconnection except for licensed electricians. Rental properties often have stricter regulations regarding smoke detector modifications.
Insurance Implications
Home insurance policies may become void if you disable smoke detection systems. Even temporary disconnection could affect coverage if a fire occurs during that period. Contact your insurance provider to understand your policy’s specific requirements.
Fire Department Notifications
Some monitored security systems automatically contact fire departments when smoke detectors activate. Disconnect these systems from monitoring services before working on detectors to avoid false emergency responses.
Step-by-Step Guide: Battery-Powered Smoke Detectors
Step 1: Locate the Reset Button
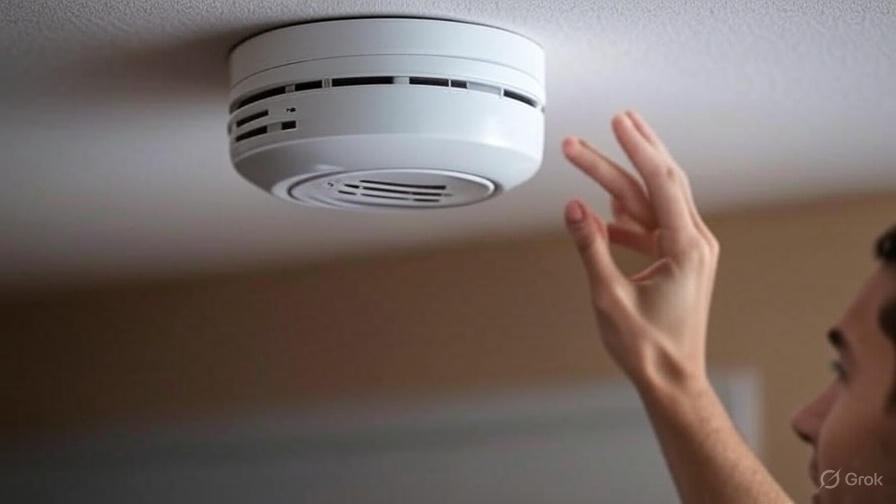
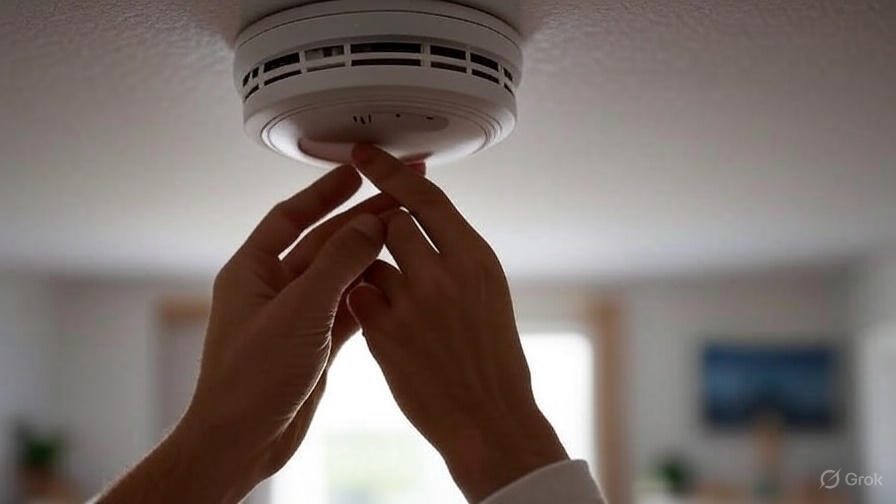
Most battery-powered smoke detectors include a test/reset button on the front face. Press and hold this button for 10-15 seconds to silence the alarm temporarily. This method works for most false alarms without requiring full disconnection.
Step 2: Remove the Detector from Mount
Battery-powered units typically mount using one of these methods:
Twist-Lock Design: Rotate the detector counterclockwise until it releases from the mounting bracket. Most units have alignment marks showing the locked and unlocked positions.
Slide-Off Design: Push the detector toward one side while lifting slightly. These mounts use spring-loaded clips to secure the unit.
Clip-In Design: Press the release tabs on opposite sides while pulling the detector straight down from the ceiling mount.
Step 3: Disconnect the Battery
Open the battery compartment, usually located on the back of the unit. Remove the old battery by disconnecting the terminal clips. For 9V batteries, simply pull the rectangular connector straight off the battery terminals.
Store the removed battery safely away from the detector. This prevents accidental reconnection if the battery contacts touch the terminals.
Step 4: Test Disconnection
Press the test button after removing the battery. A properly disconnected detector won’t emit any sound. If the alarm still chirps, check for additional power sources or hidden backup batteries.
Step-by-Step Guide: Hardwired Smoke Detectors
Step 1: Turn Off Power at Circuit Breaker
This step is absolutely critical for safety. If your smoke detector is hard-wired to the house, flip the circuit breaker before disconnecting it. Locate the correct breaker in your electrical panel. Smoke detectors often share circuits with lighting or outlets in bedrooms and hallways.
Test the circuit using a voltage tester to confirm power is off. Never skip this safety step, as live electrical wires can cause serious injury or death.
Step 2: Remove Detector from Ceiling Mount
Hardwired detectors use similar mounting systems to battery units but with additional electrical connections. Twist or slide the detector off its mounting bracket according to the manufacturer’s design.
Step 3: Disconnect Electrical Wires
Remove the Quick Connect wire harness from the back of the alarm by squeezing the plastic prongs and pulling the wire harness out of the alarm. Some older models use individual wire nuts connecting black, white, and sometimes red wires.
Wire Color Coding:
- Black wire: Hot (power supply)
- White wire: Neutral (return path)
- Red wire: Interconnect (connects multiple detectors)
Carefully separate these connections. Wrap exposed wire ends with electrical tape to prevent accidental contact.
Step 4: Remove Backup Battery
After the alarm has been removed, open the battery compartment door. Disconnect the backup battery using the same method as battery-powered units. This completely disconnects the detector from all power sources.
Step 5: Secure Loose Wires
Cap all disconnected wires with appropriate wire nuts. Tuck wired connections safely into the electrical box to prevent damage or accidental contact. Leave enough wire length for easy reconnection later.
Dealing with Interconnected Systems
Interconnected smoke detectors communicate with each other throughout your home. When one detector activates, all connected units sound their alarms simultaneously. Disconnecting one unit in an interconnected system requires special considerations.
Identify System Configuration
Count the wires in your detector’s electrical connection. Three wires usually indicate an interconnected system, while two wires suggest a standalone hardwired unit. The third wire (typically red or orange) carries the interconnect signal between detectors.
Impact on Other Detectors
The detectors work independently of each other – the battery is a back up in case of power loss so that they will still work as intended in the event of a fire. Disconnecting one detector won’t disable others in the system, but it may cause error signals or supervisory trouble indicators on remaining units.
Troubleshooting Interconnect Issues
Some systems display trouble signals when one detector disconnects. These may appear as periodic chirps or LED indicators on remaining detectors. Consult your system’s manual for specific trouble signal meanings and reset procedures.
Silencing False Alarms Without Full Disconnection
Temporary Silence Features
Most modern smoke detectors include temporary silence functions. Press and hold the test/reset button for 8-10 seconds to activate silence mode. This feature typically lasts 10-15 minutes before the detector returns to normal sensitivity.
Hush Button Functionality
Some detectors have dedicated “hush” buttons separate from test buttons. These buttons provide longer silence periods, usually 20-30 minutes. Use this feature when cooking activities trigger false alarms.
Fan Ventilation Method
Instead of disconnecting detectors near kitchens, improve ventilation to prevent false alarms. Use exhaust fans, open windows, or direct a portable fan toward the detector to clear smoke particles from the sensing chamber.
Common Troubleshooting Issues
Detector Won’t Stop Chirping
Chirping often continues even after disconnecting power and batteries. This usually indicates:
- Hidden backup battery still connected
- Residual charge in detector capacitors
- Malfunction requiring replacement
Wait 5-10 minutes after disconnection for capacitors to discharge. Check for additional battery compartments or tamper-resistant sealed batteries.
Interconnect Alarms Continue
Other detectors in the system may continue alarming even after disconnecting the triggered unit. This happens because smoke particles might still be present, or the interconnect signal created a system-wide activation.
Reset all detectors in the system by pressing their individual reset buttons. If alarms persist, check for actual fire hazards before assuming false alarm conditions.
Difficulty Reconnecting Wires
Hardwired detector connections sometimes resist reconnection due to wire corrosion or connector wear. Clean wire ends with fine sandpaper if they appear oxidized. Replace damaged connectors with new wire nuts rated for the appropriate amperage.
When to Call Professional Help
Electrical System Concerns
Contact a licensed electrician if you encounter:
- Sparking or arcing during disconnection
- Burnt wire insulation or connections
- Multiple detectors failing simultaneously
- Breaker trips repeatedly when reconnecting power
Complex Interconnected Systems
Professional installation companies should service:
- Fire alarm systems with central control panels
- Monitored security system integration
- Commercial-grade detection equipment
- Systems requiring special tools or programming
Legal and Code Compliance
Consult professionals when:
- Local codes require licensed work
- Rental property regulations apply
- Insurance requirements mandate professional service
- Building permits are needed for modifications
Maintenance Best Practices
Regular Testing Schedule
Test all smoke detectors monthly using the test button. This simple check ensures proper functionality and identifies units needing attention. Mark test dates on your calendar or set smartphone reminders.
Battery Replacement Schedule
Replace smoke detector batteries annually, even if they still function. Many fire departments recommend changing batteries during daylight saving time changes as an easy-to-remember schedule.
If a 9V battery is below 5.4 volts, it’s dead. Test old batteries with a multimeter before disposal to verify they need replacement.
Cleaning and Dust Removal
Clean detector sensing chambers every six months using compressed air or vacuum cleaners with brush attachments. Dust accumulation can cause false alarms or reduce sensitivity to actual smoke.
Remove the detector from its mount and gently clean both the unit and mounting bracket. Avoid using water or cleaning chemicals on electrical components.
Environmental Factors Affecting Performance
Humidity and Temperature Effects
High humidity environments may cause condensation inside detector chambers, leading to false alarms. Bathrooms and laundry rooms are particularly problematic. Install detectors with humidity resistance ratings in these areas.
Extreme temperatures also affect detector performance. Avoid installing units near heating vents, air conditioning returns, or uninsulated areas subject to temperature fluctuations.
Dust and Particle Considerations
Construction work, sanding projects, and heavy cooking create particles that trigger false alarms. Plan ahead for these activities by temporarily relocating portable detectors or using silence features on hardwired units.
Consider covering detectors with plastic bags during short-term dusty work, but never leave them covered for extended periods or overnight.
Reconnection Procedures
Safety Checks Before Reconnection
Before reconnecting any smoke detector:
- Verify all construction or maintenance work is complete
- Clear any remaining dust or particles from the area
- Test replacement batteries if applicable
- Confirm proper wire connections for hardwired units
Testing After Reconnection
Always test detectors immediately after reconnection. Press the test button and verify proper alarm sounds. For interconnected systems, test communication between units by activating one detector and confirming others respond appropriately.
Walk through your home during testing to verify alarm audibility in all sleeping areas. Smoke detector alarms must be loud enough to wake sleeping occupants.
Documentation and Records
Keep records of all maintenance activities, including:
- Disconnection and reconnection dates
- Battery replacement dates
- Cleaning and testing schedules
- Any issues or problems encountered
These records help establish maintenance patterns and may be required for insurance claims or property transfers.
Alternative Solutions to Disconnection
Photoelectric vs. Ionization Technology
Different detector technologies respond differently to various smoke types. Photoelectric detectors work better for smoldering fires, while ionization detectors respond faster to flaming fires. Installing the appropriate technology for your specific location reduces false alarms.
Detector Placement Optimization
Proper placement prevents many false alarm situations. Install detectors:
- At least 10 feet from cooking appliances
- Away from bathroom doors and steam sources
- In center areas of rooms, not corners
- On ceilings rather than walls when possible
Dual-Sensor Technology
Modern dual-sensor detectors combine photoelectric and ionization technologies in one unit. These advanced detectors provide better fire detection while reducing false alarms from cooking or shower steam.
Conclusion
Disconnecting smoke detectors requires careful attention to safety procedures and local regulations. Always prioritize fire safety over convenience, and never leave detectors disconnected longer than absolutely necessary.
Remember that smoke detectors are your first line of defense against fire hazards. Proper maintenance, appropriate placement, and correct disconnection procedures ensure these life-saving devices protect your family effectively.
When in doubt, consult with fire safety professionals or licensed electricians. The small cost of professional service is minimal compared to the potential consequences of improper detector maintenance.
Regular testing, timely battery replacement, and proper cleaning keep your smoke detection system functioning optimally. Take fire safety seriously – your family’s lives depend on these simple but crucial devices working properly when needed most.
Stay safe, stay protected, and never compromise on fire safety in your home.

