How to Use a Caulk Gun:?
A caulk gun transforms messy sealing jobs into clean, professional results. This essential tool helps homeowners tackle everything from bathroom repairs to window installations with confidence. Learning proper caulking techniques saves money on contractor fees while improving your home’s energy efficiency and appearance.
What Is a Caulk Gun and Why Do You Need One?
A caulk gun serves as a mechanical dispenser that pushes caulk from tubes through controlled pressure. The tool consists of a frame, trigger mechanism, pressure rod, and tube holder. Professional contractors rely on caulk guns because they provide steady, consistent flow rates that hand-squeezing simply cannot match.
Most DIY projects require precise bead application, which becomes nearly impossible without proper equipment. The gun’s trigger system allows you to start and stop material flow instantly, preventing waste and mess. Quality caulk guns also feature pressure release mechanisms that stop unwanted dripping when you finish a section.
Types of Caulk Guns Available
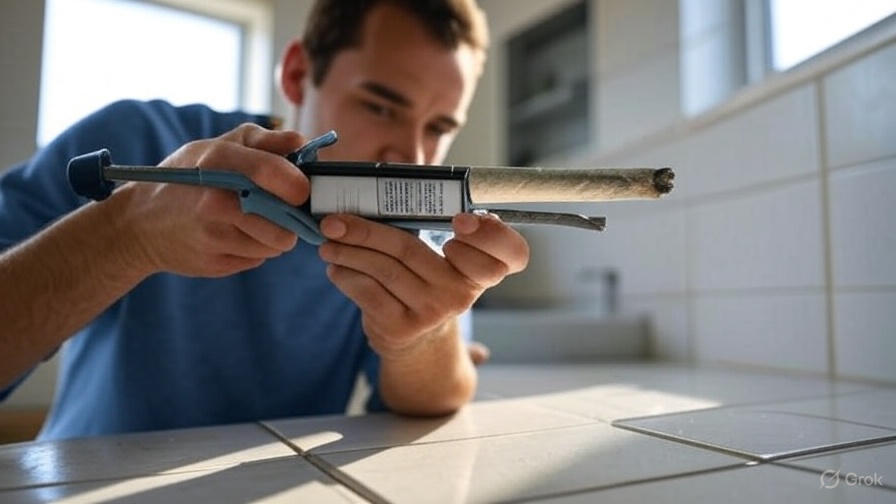
Manual Caulk Guns
Manual models use thumb pressure or squeeze triggers to advance the plunger rod. These basic tools work well for occasional repairs and small projects. The simple design means fewer parts that can break, making manual guns reliable for homeowners who caulk infrequently.
Budget-conscious buyers often start with manual options since they cost significantly less than powered alternatives. However, hand fatigue becomes noticeable during extended use, especially with thick materials like construction adhesive.
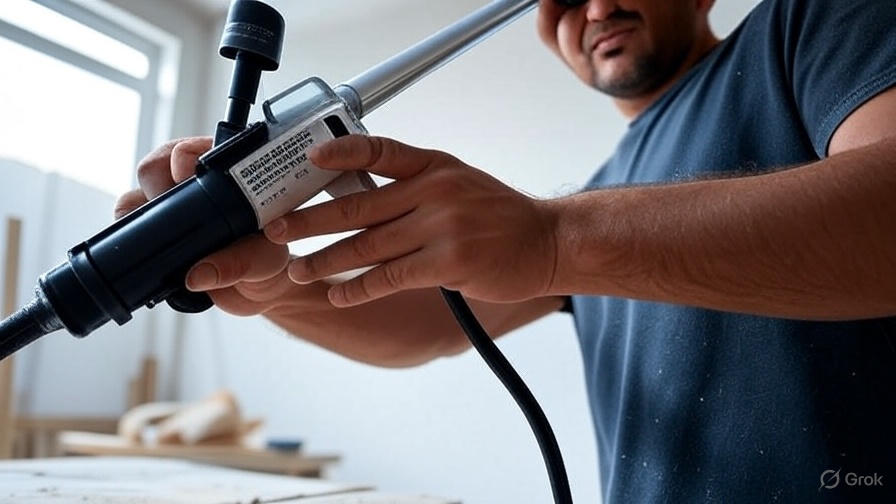
Electric Caulk Guns
Electric models eliminate hand strain through battery or corded power systems. These guns maintain consistent pressure throughout long projects, resulting in uniform bead appearance. Professional installers prefer electric guns when working with multiple tubes or tackling large commercial jobs.
Battery-powered versions offer portability benefits, though they require charging between uses. Corded electric guns provide unlimited runtime but restrict movement around work areas.
Pneumatic Caulk Guns
Air-powered guns deliver the smoothest, most controlled application possible. These professional-grade tools connect to air compressors and provide adjustable pressure settings. Pneumatic systems excel at high-volume applications where consistency matters most.
The main drawback involves equipment requirements – you need an air compressor system to operate pneumatic guns. This makes them impractical for occasional users but invaluable for contractors and serious DIY enthusiasts.
Essential Components of Every Caulk Gun
Understanding your tool’s parts helps you operate it effectively and troubleshoot problems. The frame holds everything together while providing structural support during use. Look for solid construction that won’t flex under pressure, as bending frames cause uneven material flow.
The plunger rod system pushes against the tube bottom to force material through the tip. Quality rods feature smooth operation without binding or jerking motions. Some models include gear reduction systems that multiply your input force for easier operation with thick materials.
Trigger mechanisms vary between models, but all serve the same basic function of advancing the plunger rod. Smooth trigger action reduces hand fatigue and improves control over material flow rates. Premium guns often feature variable speed triggers that let you adjust flow by changing pressure.
The tube holder secures cartridges in proper position for consistent dispensing. This component should grip tubes firmly without crushing them or interfering with plunger movement. Adjustable holders accommodate different tube sizes for maximum versatility.
How to Load a Caulk Tube Properly
Start by pulling the plunger rod completely back to its furthest position. This creates maximum space for tube insertion and prevents damage to the cartridge. Most guns feature a quick-release mechanism that disengages the rod from the advance system.
Remove the tube’s metal seal by puncturing it with a nail or awl. Some people use screwdrivers, but sharp points work better and create cleaner holes. The opening size affects flow rate – larger holes produce wider beads while smaller openings give you more control.
Cut the tube tip at a 45-degree angle using a utility knife or tube cutter. The cut angle determines bead shape and application ease. Steep angles work well for narrow gaps, while shallow cuts suit wider joints. Always cut tips smaller than needed initially – you can always enlarge them later.
Insert the tube into the gun’s holder with the tip pointing forward. Push the cartridge firmly against the front stop to ensure proper seating. The plunger rod should contact the tube bottom squarely without binding against the sides.
Advance the rod slowly until it contacts the tube bottom. Apply gentle pressure to establish contact without forcing material out prematurely. This preparation step ensures immediate response when you pull the trigger.
Setting Up Your Work Area for Success
Clean surfaces thoroughly before applying any sealant material. Dust, grease, and old caulk prevent proper adhesion and lead to premature failure. Use appropriate cleaners for your specific surface types – degreasing agents work well on metal while soap and water suffice for most painted surfaces.
Remove existing caulk completely using scrapers, utility knives, or specialized removal tools. Leaving old material creates thickness variations that show through new applications. Take time to dig out stubborn residue from deep cracks and corners where it tends to accumulate.
Dry all surfaces completely before beginning work. Moisture trapped under fresh caulk causes adhesion problems and can lead to mold growth in humid environments. Use fans or dehumidifiers if necessary to achieve proper drying conditions.
Protect surrounding areas with painter’s tape or plastic sheeting. This preparation prevents accidental smears on finished surfaces and makes cleanup much easier. Position tape carefully to create straight, clean lines that enhance the final appearance.
Step-by-Step Application Technique
Begin at one end of your joint and maintain steady movement throughout the entire length. Consistent speed produces uniform bead thickness and professional results. Practice on scrap material first if you’re working on visible areas where appearance matters.
Hold the gun at a 45-degree angle to the surface with the tip touching both sides of the joint. This position ensures proper material distribution and creates the ideal bead shape. Pulling the gun toward you generally works better than pushing it away.
Apply steady trigger pressure while moving at a consistent pace. The goal involves laying down enough material to fill the gap completely without creating excess that requires cleanup. Adjust your speed based on material flow rate and gap width.
Release trigger pressure before lifting the gun from the surface. This prevents stringing and reduces mess at stopping points. Most quality guns feature pressure release mechanisms that help minimize dripping between applications.
Smoothing and Finishing Techniques
Smooth fresh caulk immediately after application while it remains workable. Different materials have varying open times, so work efficiently to complete smoothing before the surface begins to skin over. Silicone typically allows 5-10 minutes while latex products may set faster.
Use your finger, a caulk tool, or a damp cloth to create smooth, concave profiles. Wet your smoothing tool frequently to prevent caulk from sticking and dragging. Some professionals prefer disposable plastic spoons for consistent radius curves.
Remove excess material as you work rather than allowing it to accumulate. Wet rags work well for water-based products while mineral spirits help with oil-based materials. Keep cleaning supplies within easy reach to maintain steady workflow.
Pull tape immediately after smoothing while the caulk remains wet. Waiting until the material sets often results in torn or uneven edges. Remove tape slowly at a shallow angle to avoid disturbing the fresh bead.
Common Mistakes That Ruin Results
Cutting tube tips too large ranks among the most frequent errors. Large openings make flow control difficult and waste material through over-application. Start with small cuts and gradually enlarge if needed – you cannot make tips smaller once cut.
Moving too quickly creates thin, inadequate beads that fail to seal properly. Gaps in coverage allow air and moisture infiltration that defeats the caulking purpose. Take time to ensure complete gap filling throughout the entire joint length.
Failing to release pressure causes continued material flow after stopping. This leads to messy drips and wasted caulk. Always engage the pressure release mechanism or pull the plunger rod back slightly when pausing work.
Attempting to smooth partially set material damages the surface and creates poor appearance. Work within the material’s open time constraints and accept that some areas may require removal and reapplication if timing gets away from you.
Maintenance and Storage Tips
Clean your caulk gun thoroughly after each use to prevent material buildup that can jam mechanisms. Remove any caulk residue from the frame, trigger, and plunger rod using appropriate solvents. Dry metal parts completely and apply light oil to moving components.
Store guns in dry locations away from temperature extremes. Freezing temperatures can damage seals and mechanisms while excessive heat degrades lubricants. A temperature-controlled workshop or garage typically provides ideal storage conditions.
Keep spare parts available for quick repairs. Plunger rod seals, trigger springs, and pressure release mechanisms wear out with regular use. Having replacements on hand prevents project delays when components fail.
Inspect your tool regularly for signs of wear or damage. Bent frames, cracked triggers, or binding plunger rods affect performance and should be addressed promptly. Minor issues often become major problems if ignored.
Troubleshooting Common Problems
When material won’t flow despite trigger pressure, check for tube blockages or damaged plunger rod seals. Remove the tube and inspect the tip for dried caulk or debris. Clean blockages with wire or replace tips if necessary.
Uneven flow often results from partially engaged plunger rods or damaged tube bottoms. Ensure the rod contacts the tube bottom squarely and check for cracks or deformation that might allow material to bypass the plunger.
Excessive dripping typically indicates worn pressure release mechanisms or damaged seals. Replace worn components or upgrade to better quality guns with more effective drip control systems.
Poor bead quality usually stems from improper technique rather than tool problems. Review your application angle, speed, and pressure consistency. Practice on test surfaces until you achieve desired results.
Safety Considerations and Best Practices
Wear safety glasses when cutting tube tips or working overhead. Sharp plastic fragments can cause eye injuries, especially when using utility knives. Safety glasses also protect against accidental material splashes.
Use appropriate respiratory protection when working with solvent-based products in enclosed spaces. Many caulks and sealants release vapors that can cause headaches or respiratory irritation. Ensure adequate ventilation or use approved respirators.
Keep hands clean and avoid skin contact with uncured materials. Some products can cause allergic reactions or skin sensitization with repeated exposure. Wash hands thoroughly after use and consider disposable gloves for sensitive individuals.
Read material safety data sheets before using unfamiliar products. Different caulks have varying toxicity levels and require specific handling precautions. Understanding these requirements helps prevent health problems and ensures proper disposal.
Advanced Tips for Professional Results
Warm caulk tubes in direct sunlight or warm water for easier dispensing during cold weather. Cold materials flow poorly and require excessive pressure that can damage equipment. Warmed caulk flows smoothly and produces better results.
Use backer rod in deep joints to control material usage and improve performance. Foam rod provides proper support for caulk while reducing consumption in wide gaps. This technique also creates better surface shape for improved appearance.
Match caulk colors carefully to surrounding materials for invisible repairs. Most manufacturers offer color charts that help identify appropriate shades. Custom tinting services are available for exact color matches in critical applications.
Plan application sequences to minimize tool reloading and maintain wet edges. Complete continuous runs without interruption whenever possible. Breaking up long joints often creates visible lap marks that detract from professional appearance.
When to Call a Professional
Complex architectural details may require specialized tools and techniques beyond typical DIY capabilities. Historic restoration work often involves custom materials and application methods that demand professional expertise.
Large commercial projects benefit from pneumatic systems and spray application equipment. Professional contractors have access to specialized tools that make high-volume work more efficient and cost-effective.
Structural sealing applications require engineering knowledge and approved materials. Critical weatherproofing on high-rise buildings or specialized industrial facilities should always involve qualified professionals.
Health and safety concerns in hazardous environments necessitate professional intervention. Work involving asbestos-containing materials or toxic environments requires proper certification and equipment.
Mastering caulk gun operation opens doors to countless home improvement projects while saving significant money on professional services. Practice these techniques on less visible areas first, then tackle prominent repairs with confidence. Quality tools combined with proper technique deliver professional results that enhance your home’s value and comfort. The initial investment in good equipment pays dividends through years of successful projects and reduced maintenance costs.