How to Add a 220V Outlet?
High-voltage appliances need proper power connections to work safely and efficiently. Electric dryers, ranges, air conditioners, and welders all require 220-volt outlets instead of standard 110-volt household plugs. Installing a 220V outlet might seem intimidating, but you can complete this project with the right tools and knowledge.
This comprehensive guide walks you through every step of adding a 220-volt outlet to your home. You’ll learn about safety requirements, necessary materials, and the complete installation process from start to finish.
Why You Need a 220V Outlet
Standard household outlets provide 110 volts of electricity, which works perfectly for most devices. However, large appliances and heavy-duty equipment demand double the voltage to operate properly. Electric stoves draw enormous amounts of power when heating multiple burners simultaneously. Central air conditioning units need substantial electrical input to cool entire homes effectively.
The electrical system in your home actually provides 240 volts total, split into two 120-volt legs. Regular outlets use just one leg, while 220V outlets tap into both legs to deliver full power. This configuration allows high-demand appliances to run without overloading your electrical system.
Professional electricians charge between $200 and $800 for 220V outlet installation, depending on complexity and local rates. You can save significant money by handling this project yourself while gaining valuable electrical knowledge.
Essential Safety Precautions
Electrical work involves serious safety risks that can cause injury or property damage. Always turn off power at the main electrical panel before starting any electrical project. Use a non-contact voltage tester to verify circuits are completely dead before touching any wires.
Wear rubber-soled shoes and avoid working in wet conditions. Keep your workspace dry and well-lit throughout the installation process. Never work alone on electrical projects – have someone nearby who can call for help if needed.
Check local building codes before beginning work. Many areas require permits for new electrical circuits and professional inspections after completion. Some jurisdictions restrict homeowners from performing electrical work entirely.
Call 811 (Dig Safe) at least 72 hours before digging to mark underground utility lines. This free service prevents dangerous encounters with buried electrical, gas, or water lines during your project.
Required Tools and Materials
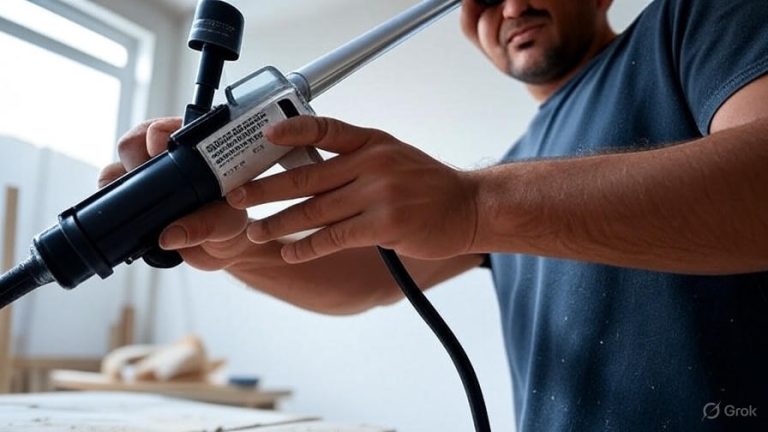
Gather all necessary tools before starting your installation. You’ll need a voltage tester, wire strippers, screwdrivers (both flathead and Phillips), a drill with various bits, and a stud finder for locating wall framing.
Essential materials include the 220V outlet receptacle, matching wall plate, electrical box rated for 240 volts, appropriate wire gauge for your amperage requirements, and wire nuts for connections. Most 220V circuits use 10-gauge wire for 30-amp service or 12-gauge for 20-amp applications.
Purchase a circuit breaker that matches your outlet’s amperage rating. Double-pole breakers occupy two spaces in your electrical panel and provide power to both legs of your 220V circuit.
Consider buying a few extra feet of wire beyond your measurements. Having surplus material prevents frustrating trips to the hardware store mid-project and ensures you can make proper connections without stretching wires.
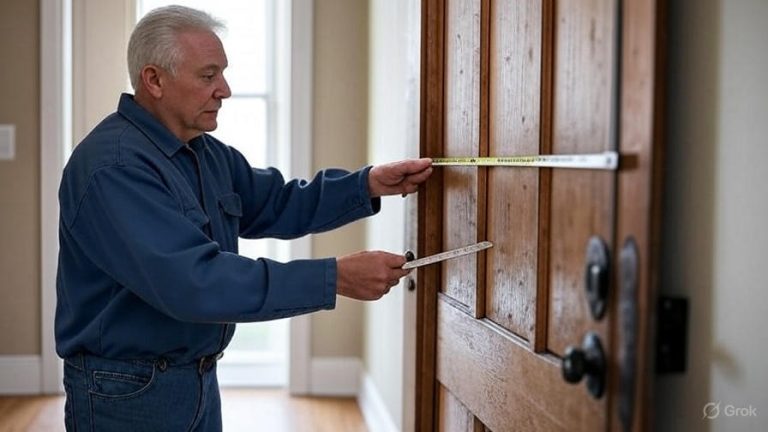
Planning Your Circuit Route
Start by determining the best location for your new outlet. Consider the appliance you’ll connect and ensure adequate clearance around the outlet for safe operation. Electric dryers need space for ventilation, while ranges require specific distances from combustible materials.
Measure the distance from your electrical panel to the outlet location. Plan the most direct route while avoiding obstacles like plumbing, heating ducts, and structural elements. Running wire through unfinished basement areas or accessible attics simplifies installation significantly.
Identify the path through wall studs, floor joists, or ceiling rafters. You’ll need to drill holes through framing members to route your electrical cable. Mark these locations carefully to ensure straight wire runs and avoid interference with other systems.
Calculate total wire length including extra for connections at both ends. Add at least six inches at the outlet location and twelve inches at the panel for proper connections. This extra length provides flexibility during installation and ensures code compliance.
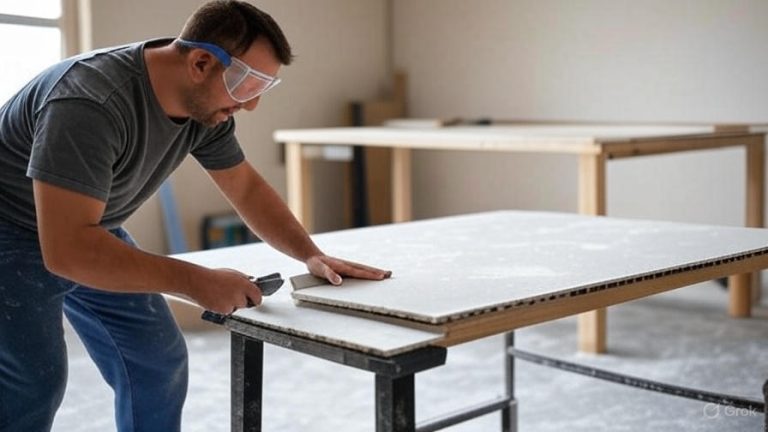
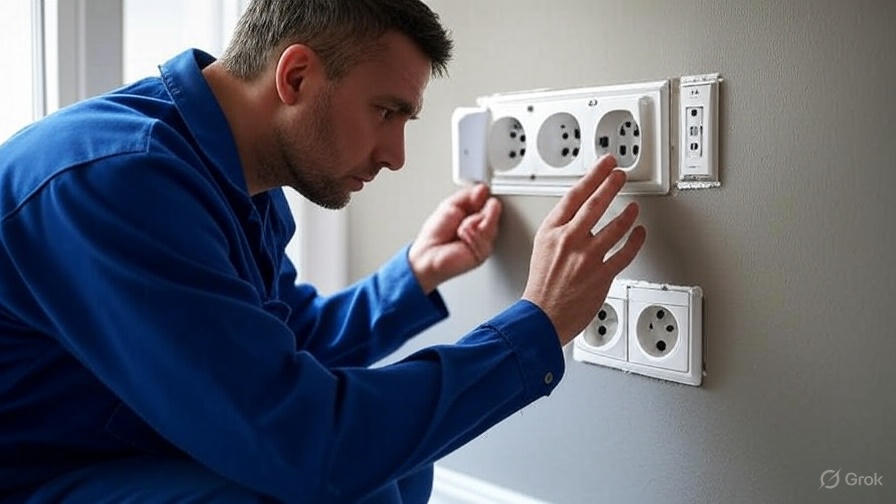
Installing the Electrical Box
Begin by shutting off power at the main electrical panel. Use your voltage tester to confirm power is off before proceeding with any electrical work.
Mark the outlet location on your wall using the electrical box as a template. Standard outlet height is 12 inches from the floor, though you can adjust this based on your specific needs. Use a level to ensure your outline is perfectly straight.
Cut the opening using a drywall saw or reciprocating saw with a fine-tooth blade. Make precise cuts to avoid excessive patching later. Test-fit your electrical box to verify proper sizing before proceeding.
Install the electrical box according to manufacturer instructions. Some boxes mount directly to wall studs with screws, while others use adjustable brackets or wings. Ensure the box sits flush with the finished wall surface for proper outlet installation.
Secure the box firmly to prevent movement during outlet use. Loose boxes create safety hazards and can cause wire connections to fail over time. Check that mounting screws are tight but avoid over-tightening, which can crack the box.
Running the Electrical Cable
Route your electrical cable from the panel to the outlet location following your planned path. Use cable rated for your circuit’s amperage requirements – typically 10/3 cable for 30-amp circuits or 12/3 for 20-amp applications.
The “3” designation indicates three conductors: two hot wires (typically black and red), one neutral wire (white), and a bare copper ground wire. This configuration provides the two hot legs needed for 220V operation plus safety grounding.
Drill holes through framing members using a spade bit or hole saw. Keep holes centered in studs or joists to maintain structural integrity. Use 3/4-inch holes for most residential cable runs, providing adequate space without weakening the framing.
Pull cable carefully to avoid damaging the insulation. Sharp edges or excessive tension can create dangerous situations later. Use cable pulling lubricant for long runs or multiple bends to reduce friction.
Secure the cable every four feet along its run using appropriate staples or straps. This prevents sagging and protects the cable from damage. Leave at least 1/4 inch clearance between staples and the cable to avoid compression damage.
Connecting at the Electrical Panel
Before opening your electrical panel, turn off the main breaker to cut power to all circuits. This critical safety step prevents electrocution while working inside the panel. Remember that some parts remain energized even with the main breaker off.
Remove the panel cover carefully and set it aside in a safe location. Identify an empty double-pole breaker space for your new 220V circuit. If no space is available, you may need a panel upgrade or tandem breakers.
Strip the outer cable sheath back about eight inches to expose individual wires. Use a utility knife carefully to avoid nicking the conductor insulation. Remove the cable knockout closest to your breaker location.
Install a cable connector in the knockout and secure your cable. Different panel types use various connector styles, so match the connector to your specific panel requirements. Tighten the connector firmly to provide strain relief and prevent cable movement.
Connect the ground wire to the ground bus bar using an appropriate screw. If your panel uses separate ground and neutral bars, connect to the ground bar only. Some older panels combine ground and neutral connections on a single bar.
Connect the white neutral wire to the neutral bus bar. Use an empty terminal and tighten the screw securely. This connection completes the return path for your 220V circuit.
Installing the Circuit Breaker
Install your double-pole circuit breaker according to panel manufacturer instructions. These breakers differ from single-pole units and require proper orientation for safe operation. The breaker should snap firmly into place on both bus bars.
Connect the black wire to one breaker terminal and the red wire to the other terminal. The order doesn’t matter for 220V circuits since both wires carry the same voltage relative to ground. Tighten terminal screws to manufacturer specifications.
Double-check all connections before proceeding. Loose connections cause heat buildup and potential fire hazards. Use a flashlight to inspect connections thoroughly and ensure no bare wire is visible outside terminals.
Label your new circuit clearly on the panel directory. Include the circuit purpose (dryer, range, etc.) and amperage rating. This information helps future troubleshooting and maintenance work.
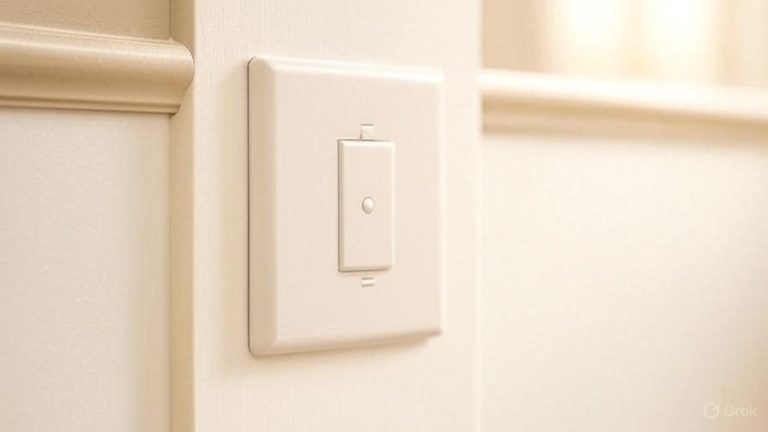
Wiring the 220V Outlet
At the outlet location, carefully pull the cable through the electrical box. Leave approximately six inches of cable extending from the box for connections. This extra length provides flexibility during wiring and future maintenance.
Strip the outer cable sheath back to the box entry point, exposing individual conductors inside the box. Use wire strippers to remove 3/4 inch of insulation from each conductor end. Avoid nicking the copper wire during stripping.
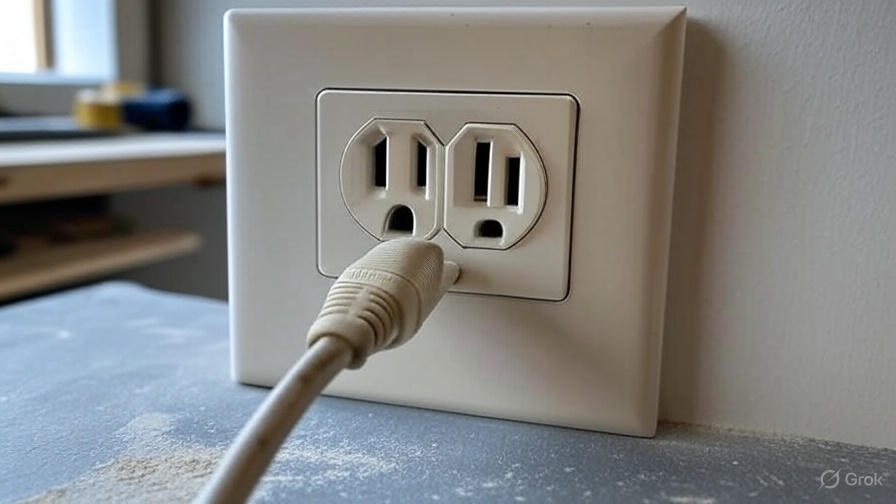
Most 220V outlets use a four-wire configuration: two hot wires, one neutral, and one ground. The outlet terminals are typically labeled or color-coded to indicate proper connections. Consult your outlet instructions for specific wiring diagrams.
Connect the black wire to the first hot terminal, usually marked “X” or “L1.” Connect the red wire to the second hot terminal, marked “Y” or “L2.” These connections provide the two legs of your 220V power supply.
Connect the white neutral wire to the neutral terminal, typically marked “W” or “N.” This connection provides a return path for unbalanced loads and is required by modern electrical codes.
Connect the bare copper ground wire to the ground terminal, usually marked with a ground symbol or “G.” This safety connection protects against electrical faults and reduces shock hazards.
Final Connections and Testing
Carefully fold wires into the electrical box, ensuring no connections are stressed or touching metal surfaces. Install the outlet by aligning with the box mounting holes and securing with provided screws.
Install the wall plate over the outlet, ensuring it sits flush against the wall surface. A properly installed plate covers any gaps around the electrical box and provides a finished appearance.
Return to the electrical panel and restore power by turning on the main breaker. The panel cover should remain off until you complete testing to allow access if problems occur.
Turn on your new 220V circuit breaker slowly and listen for any unusual sounds. A properly functioning breaker should move smoothly to the “on” position without sparking or crackling noises.
Test your outlet using a 220V tester or by connecting your intended appliance. The outlet should provide proper voltage and operate your equipment normally. If problems occur, turn off power immediately and recheck all connections.
Use a multimeter to verify voltage at the outlet terminals. You should measure approximately 240 volts between the two hot terminals and 120 volts from each hot terminal to neutral or ground.
Common Installation Mistakes to Avoid
Many DIY installers use incorrect wire gauge for their circuit amperage. Always match wire size to breaker rating – 10-gauge wire for 30-amp circuits, 12-gauge for 20-amp circuits. Undersized wire creates fire hazards and code violations.
Improper grounding represents another frequent mistake. The ground wire must connect to the outlet ground terminal and panel ground bus. This safety connection cannot be omitted or improperly installed.
Some installers confuse neutral and ground connections at the panel. In most modern panels, these connections remain separate. Only main panels or those with main disconnect breakers combine neutral and ground buses.
Inadequate box support causes outlets to loosen over time and potentially create dangerous conditions. Electrical boxes must mount securely to framing members or use appropriate support brackets for hollow wall installations.
When to Call a Professional
Consider professional installation if your project involves extensive wire runs through finished walls or ceilings. Electricians have specialized tools and experience for complex routing situations that might challenge DIY installers.
Panel upgrades or modifications beyond adding a simple breaker require professional expertise. Older panels may have unique requirements or safety issues that only qualified electricians should address.
Local permitting requirements often mandate professional installation or inspection. Check with your building department before starting work to understand local regulations and requirements.
If you feel uncomfortable with any aspect of the installation, call a professional electrician. The cost of professional installation far outweighs the risks of improper electrical work, which can cause fires, equipment damage, or personal injury.
Maintenance and Safety Tips
Test your GFCI protection monthly if your 220V outlet includes this safety feature. GFCI outlets in wet locations like garages or outdoor areas require regular testing to ensure proper operation.
Inspect outlet connections annually for signs of overheating, including discoloration, burning smells, or loose terminals. These symptoms indicate potential problems that need immediate attention.
Keep the area around your 220V outlet clear of flammable materials. High-power appliances generate heat during operation and need adequate ventilation for safe use.
Never use extension cords with 220V appliances unless specifically rated for the voltage and amperage. Most extension cords cannot safely handle 240-volt loads and create serious fire hazards.
Cost Breakdown and Budgeting
Material costs for DIY 220V outlet installation typically range from $50 to $150, depending on wire run length and outlet type. The electrical box, outlet, breaker, and wire represent the major expenses in most installations.
Professional installation costs vary significantly by region and project complexity. Simple installations in accessible locations cost less than complex runs through finished walls or structural modifications.
Permit fees add $50 to $200 to your project cost in most areas. While this might seem excessive for a simple outlet, permits ensure proper installation and provide liability protection for your home insurance.
Consider the long-term value of proper 220V outlet installation. Correctly installed outlets increase home value and provide safe, reliable power for major appliances for decades with minimal maintenance.
Installing a 220V outlet requires careful attention to safety and proper technique, but most homeowners can complete this project successfully with patience and preparation. Take your time, follow local codes, and don’t hesitate to consult professionals when needed. The result will be a safe, reliable power source for your high-voltage appliances that serves your home for years to come.