How to Bend a Door Hinge?
Door hinges take a beating over time. They sag, warp, and misalign, causing your doors to stick, scrape, or refuse to close properly. Instead of replacing the entire hinge system, you can often fix these problems by carefully bending the hinge back into proper alignment.
This comprehensive guide walks you through everything you need to know about bending door hinges safely and effectively. You’ll learn when to attempt this repair, what tools you need, and step-by-step techniques that actually work.
When You Should Consider Bending a Door Hinge
Door hinges develop problems for several reasons. Heavy doors put constant stress on the metal, causing gradual warping. Temperature changes make metal expand and contract, leading to slight deformations. Even normal wear and tear can throw hinges out of alignment.
You’ll know your hinge needs attention when doors don’t close flush with the frame. The door might stick at certain points or swing open on its own. Sometimes you’ll hear scraping sounds as the door moves. These issues often stem from bent hinge pins or warped hinge leaves.
Bending works best on minor alignment problems. If your hinge shows deep cracks, severe rust, or complete breaks, replacement becomes necessary. Similarly, if the screw holes have enlarged significantly, bending won’t solve the underlying attachment issues.
Essential Tools for Hinge Adjustment
Success depends on having the right equipment. You’ll need a sturdy vise to hold the hinge securely while you work. Adjustable pliers give you precise control over small adjustments. A rubber mallet protects the metal finish while providing controlled force.
Keep a flat-head screwdriver handy for hinge pin removal. WD-40 or similar penetrating oil helps with stubborn pins. Safety glasses protect your eyes from metal shavings and debris. Work gloves prevent cuts from sharp edges.
A small level helps verify your adjustments. Measuring tape ensures you maintain proper door clearances. Fine-grit sandpaper smooths any rough spots after bending. These tools cost less than hiring a professional and serve multiple household projects.
Preparing Your Workspace
Set up in a well-lit area with plenty of room to maneuver. Your workbench should sit at a comfortable height to prevent back strain. Clear away clutter that might interfere with your movements or cause accidents.
Remove the door from its frame before starting major adjustments. This eliminates the door’s weight and gives you better access to the hinges. Take photos of the original hinge positions for reference during reassembly.
Test your vise with scrap metal first. You want firm pressure without crushing the hinge material. Different hinge metals require different amounts of force, so start gently and increase pressure gradually.
Step-by-Step Hinge Removal Process
Start by opening the door completely and supporting its weight. Remove the hinge pin by tapping it upward with your screwdriver and hammer. Work from the bottom pin upward to maintain door stability longer.
Some pins have decorative caps that unscrew counterclockwise. Others feature removable pins with small tabs you can grip with pliers. Stubborn pins respond well to penetrating oil applied 15 minutes before removal attempts.
Mark each hinge’s position with masking tape and a permanent marker. This prevents confusion during reinstallation, especially when dealing with multiple hinges of slightly different sizes.
Once you remove all pins, lift the door carefully and set it aside. The hinges remain attached to both the door and frame, making individual adjustment possible.
Identifying the Problem Area
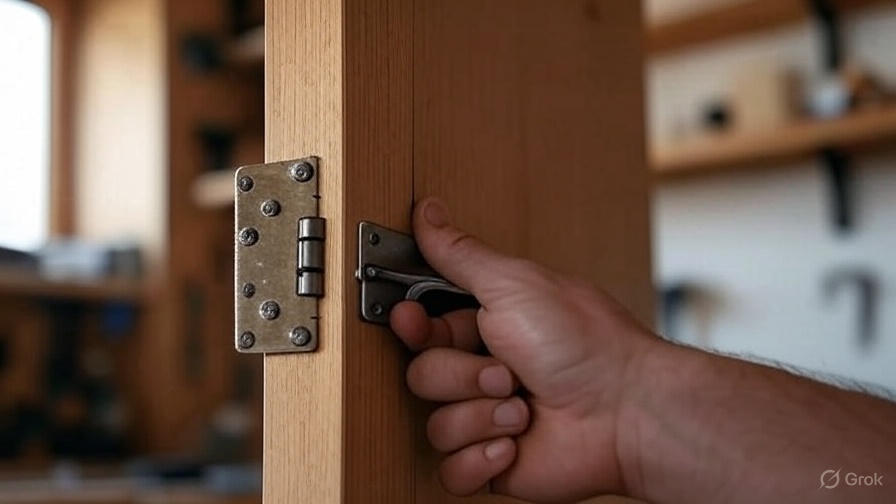
Examine each hinge leaf carefully for signs of bending or warping. Hold a straight edge against the hinge to spot deviations from true. Common problem areas include the knuckle joints where stress concentrates.
Look for gaps between hinge leaves when the door is closed. Uneven gaps indicate one leaf has bent relative to the other. The hinge pin holes should align perfectly when the leaves come together.
Check for worn or enlarged screw holes in both the door and frame. These create play that allows hinges to shift under load. If screws feel loose even when fully tightened, the wood around the holes has probably compressed or split.
Basic Bending Techniques
Small adjustments require gentle pressure applied consistently. Place the hinge leaf in your vise with the bend point accessible. Use padded pliers to grip the metal without marring the surface.
Apply pressure slowly and check your progress frequently. Metal has memory and will try to return to its original shape. Work gradually to overcome this tendency without over-correcting.
For minor bends, finger pressure combined with leverage from a screwdriver handle often suffices. Insert the screwdriver through the pin hole and use it as a lever to apply controlled force to specific areas.
Heat makes metal more pliable, but use caution with painted hinges. A hair dryer provides gentle warming that softens the metal slightly. Avoid torches or other high-heat sources that can damage finishes or weaken the metal structure.
Advanced Correction Methods
Severe bends require more aggressive techniques. Remove the hinge leaf completely from the door or frame for better access. This allows you to work from multiple angles and apply force more effectively.
Create a bending form using scrap wood cut to match the desired hinge shape. Clamp the hinge against this form and apply pressure with a padded block and hammer. This technique ensures consistent curves and prevents over-bending.
For twisted hinge leaves, you need opposing forces at different points. Use two vises or have a helper hold one end while you bend the other. Work in small increments, checking alignment frequently.
Consider the grain direction in metal hinges. Bending with the grain requires less force and produces cleaner results. Bending against the grain can cause cracking, especially in older or cheaper hinges.
Working with Different Hinge Materials
Steel hinges are the most forgiving for bending operations. They hold their new shape well and resist cracking under moderate stress. Start with light pressure and increase gradually until you achieve the desired correction.
Brass hinges require more delicate handling. The softer metal bends easily but can also crack or tear if you apply too much force too quickly. Warm brass slightly with a hair dryer to increase its pliability before bending.
Aluminum hinges are lightweight but prone to stress cracking. Support the hinge fully during bending operations and avoid sharp bends or repeated flexing in the same area. Small adjustments work better than major corrections.
Cast iron hinges from older homes are brittle and difficult to bend without breaking. If you must attempt repairs, warm the metal gradually and work very slowly. Consider replacement if the bend is significant.
Dealing with Hinge Pin Problems
Bent hinge pins cause doors to bind or hang crooked even when the leaves are perfectly aligned. Remove the pin and roll it on a flat surface to check for straightness. Minor bends show up as wobbles during rolling.
Straighten pins using the same techniques as hinge leaves. Support the pin in a V-block or pipe and apply pressure at the bend point. Rotate the pin frequently to maintain roundness.
Severely bent pins are difficult to straighten completely. Small imperfections will cause premature wear and binding. Consider replacement pins for heavily damaged units.
Some decorative hinges use non-removable pins. These require special techniques since you can’t work on the pin separately. Focus on adjusting the hinge leaves to compensate for pin irregularities.
Precision Alignment Techniques
Use a door alignment jig to check your work. These simple tools show exactly how much adjustment each hinge needs. You can build one from scrap lumber or purchase commercial versions.
String lines help verify door plane alignment across multiple hinges. Stretch a taut line from top to bottom hinge and adjust each one to match this reference. This ensures the door hangs in a consistent plane.
Digital calipers measure small gaps and alignments precisely. Check the gap between door and frame at multiple points. Consistent gaps indicate proper hinge alignment.
Test your adjustments by hanging the door temporarily with just the hinge pins. This reveals problems before you complete the installation. Make fine adjustments with the door in place for perfect results.
Preventive Maintenance Tips
Regular lubrication prevents many hinge problems before they start. Apply light machine oil to pin points every six months. Wipe away excess oil to prevent dirt accumulation.
Check hinge screws annually and tighten as needed. Loose screws allow movement that stresses the hinge structure. Use a screwdriver, not a power drill, to avoid over-tightening.
Paint protection preserves hinge metal and prevents rust formation. Touch up nicks and scratches promptly with matching paint or clear protective coating.
Adjust door stops and weather stripping to prevent doors from slamming. Hard impacts stress hinges unnecessarily and can cause gradual deformation over time.
Troubleshooting Common Issues
Doors that swing open by themselves usually have hinges bent slightly out of plumb. Check with a level and adjust the top hinge to correct the lean. Small adjustments often solve persistent problems.
Sticky doors can result from hinges that have bent inward, reducing clearance. Measure the gap around the door perimeter and adjust hinges to create consistent spacing.
Squeaky hinges don’t always need oil. Sometimes the noise comes from hinges rubbing against each other due to misalignment. Correct the underlying bend before lubricating.
Doors that won’t stay closed may have springs or catches that need adjustment. However, bent hinges can also prevent proper latch engagement by affecting door positioning relative to the frame.
Safety Considerations During Repair
Always wear safety glasses when working with metal tools and hardware. Flying metal particles can cause serious eye injuries, especially when using power tools or applying significant force.
Support heavy doors properly during hinge removal. Enlist help when dealing with solid wood or metal doors that can cause back injury if handled alone. Use proper lifting techniques and take breaks when needed.
Be aware of lead paint on older hinges. Homes built before 1978 often contain lead-based paints that create toxic dust when disturbed. Take appropriate precautions or hire certified professionals for these situations.
Keep your workspace organized and free from tripping hazards. Sharp tools and heavy doors create dangerous combinations when combined with cluttered work areas.
When to Call a Professional
Some hinge problems exceed DIY repair capabilities. If multiple hinges show severe damage, the underlying structure may have shifted. This requires professional assessment and possible frame adjustment.
Historic homes often feature specialized hardware that requires expert restoration techniques. Attempting repairs without proper knowledge can damage irreplaceable components and reduce property value.
Security doors and fire-rated assemblies have specific requirements that affect their certification. Unauthorized modifications can void warranties and create liability issues.
If your repairs don’t solve the problem or make it worse, professional help becomes necessary. Experienced carpenters have specialized tools and techniques for complex hinge problems.
Cost-Effective Repair Strategies
Compare repair costs against replacement expenses before deciding on a course of action. Simple bending repairs cost almost nothing beyond your time. Complex corrections might justify new hardware instead.
Consider upgrading to heavy-duty hinges during replacement projects. The additional cost often pays for itself through improved durability and reduced maintenance needs.
Group hinge repairs with other door maintenance tasks to maximize efficiency. Touching up paint, adjusting stops, and lubricating hardware during the same session saves time and effort.
Keep spare hinge pins on hand for quick repairs. These inexpensive components solve many common problems and prevent the need for complete hinge replacement.
Final Thoughts on Hinge Repair Success
Bending door hinges requires patience, the right tools, and careful technique. Most homeowners can handle minor adjustments with confidence once they understand the basic principles involved.
Start with less visible hinges to practice your technique before tackling prominent doors. Experience builds confidence and helps you recognize when professional help is warranted.
Document your successful repairs with photos and notes. This information proves valuable for future maintenance and helps you refine your techniques over time.
Regular inspection and maintenance prevent most hinge problems from developing into major repairs. A few minutes of attention each year saves hours of correction work later.
Well-maintained hinges last decades with minimal attention. Your investment in learning these repair techniques pays dividends through years of smooth door operation and avoided replacement costs.