How to Clean a Paint Roller?
Paint rollers transform tedious painting jobs into quick, efficient projects. However, many DIY painters struggle with proper roller maintenance after completing their work. A well-maintained paint roller lasts for multiple projects and delivers consistent, professional results every time.
Cleaning your paint roller correctly saves money and ensures your next painting session starts smoothly. This comprehensive guide walks you through every step of the cleaning process, from immediate post-painting care to long-term storage solutions.
Why Proper Paint Roller Cleaning Matters
Dried paint ruins roller covers permanently. Once paint hardens in the fibers, the roller becomes stiff, streaky, and unusable. Professional painters know that cleaning tools immediately after use extends their lifespan significantly.
A dirty roller creates several problems during your next painting project. Paint buildup causes uneven coverage, visible streaks, and poor color mixing. These issues force you to apply extra coats, wasting both time and paint.
Clean rollers also prevent color contamination. Residual paint from previous projects can muddy your fresh colors, especially when switching from dark to light shades. Proper cleaning eliminates this risk entirely.
Essential Supplies for Paint Roller Cleaning
Gather these materials before starting the cleaning process:
Basic cleaning supplies:
- Warm water
- Liquid dish soap
- Paint thinner or mineral spirits (for oil-based paints)
- Clean rags or paper towels
- Plastic scraper or putty knife
- Wire brush or roller cleaning tool
- Large bucket or sink
- Rubber gloves
Optional but helpful items:
- Roller spinner tool
- Paint roller cleaner solution
- Newspaper or drop cloths
- Plastic bags for storage
Having everything ready prevents paint from drying while you search for supplies. Time is critical when cleaning paint tools.
Step-by-Step Water-Based Paint Cleaning Process
Water-based paints (latex and acrylic) clean easily with soap and water. Start this process immediately after finishing your painting session.
Remove Excess Paint
Roll the paint-covered roller on newspaper or cardboard to remove as much wet paint as possible. Press firmly and roll in different directions to extract paint from deep within the fibers. This preliminary step reduces the amount of paint that enters your cleaning water.
Scrape the roller cover gently with a plastic scraper or putty knife. Work from the center outward, following the nap direction. Avoid using metal tools, which can damage the roller fibers.
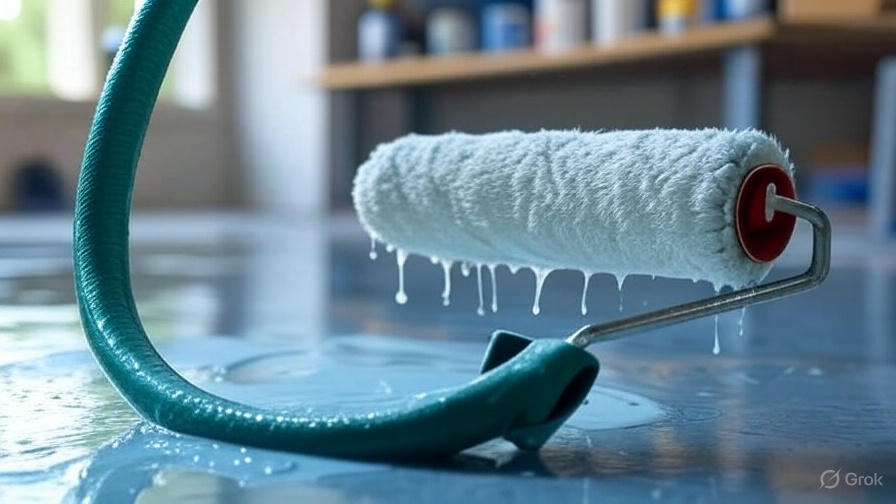
Rinse with Cold Water
Run cold water over the roller cover, rotating it slowly under the stream. Cold water prevents the paint from setting deeper into the fibers. Hot water can actually make latex paint more difficult to remove by causing it to coagulate.
Continue rinsing until the water runs mostly clear. This initial rinse removes the majority of loose paint particles.
Apply Soap Solution
Fill a bucket with warm (not hot) water and add several drops of liquid dish soap. Submerge the roller cover and work the soapy water through the fibers with your hands. Squeeze and release the roller repeatedly to work soap into every fiber.
For stubborn paint deposits, use a wire brush or specialized roller cleaning tool. Brush gently in the direction of the nap to avoid damaging the fibers. Aggressive scrubbing can pull fibers loose and create an uneven texture.
Final Rinse and Inspection
Rinse the roller thoroughly under running water until no soap bubbles remain. Squeeze the roller gently to remove excess water and inspect for any remaining paint spots.
If paint streaks persist, repeat the soap and rinse process. Patience during cleaning prevents permanent paint buildup that would ruin future paint jobs.
Oil-Based Paint Cleaning Techniques
Oil-based paints require different cleaning methods since water cannot dissolve oil-based binders. Never attempt to clean oil paint with water alone – this creates a messy, ineffective situation.
Initial Paint Removal
Remove excess paint using the same newspaper rolling technique described above. Oil-based paints stay workable longer, giving you more time for this initial cleanup step.
Solvent Cleaning Process
Pour paint thinner or mineral spirits into a well-ventilated area or work outdoors. Submerge the roller in the solvent and work it through the fibers. The solvent dissolves the oil-based binders, releasing paint particles.
Use a cleaning tool or wire brush to work stubborn paint from the roller fibers. Keep the roller submerged in fresh solvent – dirty solvent loses its cleaning effectiveness.
Multiple Solvent Changes
Change to fresh solvent when the liquid becomes heavily contaminated with paint. Most oil-based paint cleaning requires two or three solvent changes for complete removal.
After the final solvent cleaning, rinse the roller with warm, soapy water to remove solvent residue. This water rinse also removes any remaining paint particles the solvent loosened.
Using Specialized Roller Cleaning Tools
Roller spinner tools dramatically speed up the cleaning process while delivering superior results. These devices use centrifugal force to extract paint and water from roller fibers.
How Roller Spinners Work
Insert the roller cover onto the spinner’s shaft and secure it according to the manufacturer’s instructions. Point the spinner into a bucket or large cardboard box to catch the spray.
Pump the spinner handle rapidly to spin the roller at high speed. The spinning action forces paint and cleaning solution out of the fibers through centrifugal force.
Spinner Cleaning Steps
First, spin out excess paint before applying any cleaning solutions. This removes the majority of paint without diluting your cleaning water.
After soap washing, use the spinner again to remove dirty wash water. Finally, spin the clean roller to remove rinse water and speed drying.
Common Paint Roller Cleaning Mistakes
Many painters make errors that damage their rollers or result in incomplete cleaning. Avoiding these mistakes ensures your rollers last for many projects.
Using Hot Water Initially
Hot water sets latex paint deeper into roller fibers, making removal more difficult. Always start with cold water for the initial rinse, then switch to warm water for soap cleaning.
Inadequate Paint Removal
Rushing through the initial paint removal stage leads to contaminated cleaning water and incomplete cleaning. Take time to remove as much wet paint as possible before washing.
Wrong Cleaning Direction
Brushing against the nap direction damages roller fibers and creates an uneven texture. Always brush and scrape in the direction of the fiber nap.
Insufficient Rinsing
Soap residue left in roller fibers can cause problems during your next painting session. Rinse thoroughly until no bubbles appear when you squeeze the roller.
Drying and Storage Best Practices
Proper drying prevents mold, mildew, and fiber damage that can ruin clean rollers. Follow these steps to ensure your rollers stay in perfect condition.
Air Drying Process
Stand the clean roller on end or hang it to allow complete air circulation around all surfaces. Laying wet rollers flat can cause flat spots and uneven drying.
Avoid direct sunlight or heat sources, which can damage synthetic roller fibers. Room temperature air drying works best for all roller types.
Checking for Complete Dryness
Squeeze the roller gently – completely dry rollers feel firm and spring back quickly. Damp rollers feel soft and may show water droplets when squeezed.
Store rollers only after they reach complete dryness. Moisture trapped in stored rollers creates perfect conditions for mold and mildew growth.
Long-Term Storage Solutions
Wrap completely dry rollers in plastic bags or aluminum foil to protect them from dust and debris. Label the bags with the roller type and purchase date for easy identification.
Store wrapped rollers in a dry location away from extreme temperatures. Basements and garages often have humidity issues that can damage stored painting supplies.
Extending Paint Roller Lifespan
Quality roller covers represent a significant investment in your painting tools. These maintenance tips help you get maximum value from each roller:
Proper Handling During Use
Avoid dropping loaded rollers, which can damage the fibers and create uneven paint application. Use a roller tray or bucket grid to remove excess paint instead of pressing hard against surfaces.
Don’t let paint dry on rollers between coats. If you’re taking a break longer than 30 minutes, wrap the roller in plastic wrap or aluminum foil to keep the paint wet.
Quality Assessment
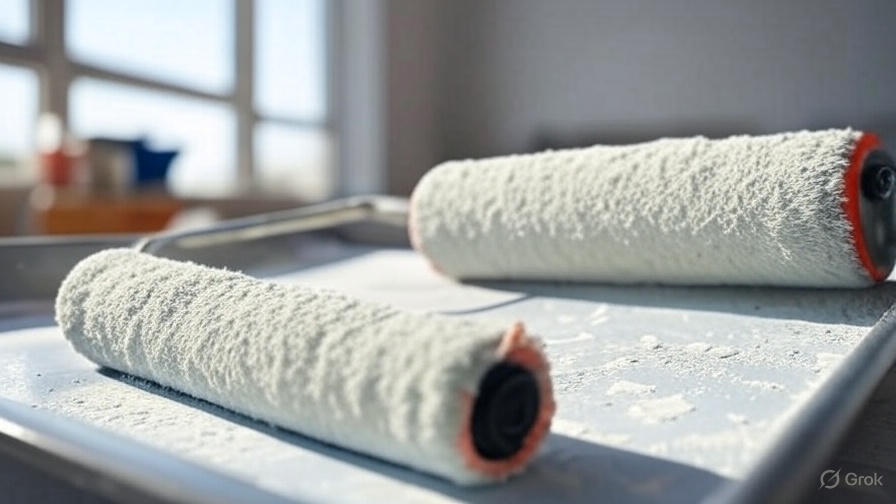
Inspect rollers before each use for loose fibers, flat spots, or hardened paint deposits. Replace damaged rollers rather than struggling with poor results.
High-quality roller covers last for dozens of projects when properly maintained. Cheap rollers may shed fibers or lose their texture after just a few uses.
When to Replace Rollers
Replace rollers when the nap becomes matted or uneven, when fibers start shedding excessively, or when paint deposits cannot be completely removed. Using worn-out rollers produces poor results and wastes paint.
Troubleshooting Difficult Cleaning Situations
Sometimes paint removal requires extra effort or different techniques. These solutions handle the most challenging cleaning scenarios.
Partially Dried Paint
If paint has started to dry but hasn’t fully hardened, soak the roller in appropriate solvent (water for latex, mineral spirits for oil) for several hours. The extended soaking time often loosens stubborn paint deposits.
Gently work the softened paint out with your hands or a cleaning tool. Be patient – rushing this process can damage the roller fibers.
Multiple Paint Types
Rollers used with different paint types require careful cleaning to prevent incompatible paint interactions. Clean oil-based paint first with solvents, then follow with soap and water cleaning to remove any residue.
Always identify the paint types you’ve used before starting the cleaning process. This prevents mixing incompatible cleaning methods that could damage your roller or create messy situations.
Heavily Loaded Rollers
Rollers saturated with paint need extra attention during the initial paint removal stage. Work patiently to extract as much paint as possible before washing – this prevents overwhelming your cleaning solutions.
Consider using a paint roller cleaning attachment for your garden hose. These tools use water pressure to force paint out of heavily loaded rollers.
Environmental Considerations
Responsible paint roller cleaning protects both your health and the environment. Follow these guidelines for safe, eco-friendly cleaning practices.
Solvent Disposal
Never pour paint thinner or mineral spirits down drains or onto the ground. These chemicals contaminate water supplies and soil. Contact your local waste management facility for proper disposal instructions.
Many communities have hazardous waste collection days specifically for paint-related materials. Save used solvents in labeled containers for proper disposal.
Water Contamination Prevention
Rinse water containing latex paint can be harmful to septic systems and water treatment facilities. Let paint particles settle in a bucket, then dispose of the settled paint with household trash.
Strain cleaning water through old rags or paper towels to capture paint particles before disposal. This simple step prevents paint from entering water systems.
Professional Tips for Perfect Results
Professional painters develop techniques that deliver consistently excellent results. Apply these expert strategies to your roller cleaning routine:
Temperature Control
Room temperature affects cleaning effectiveness significantly. Cold environments slow solvent action and make paints more viscous. Warm (but not hot) cleaning solutions work most effectively.
Keep cleaning supplies at comfortable room temperature for optimal results. Cold solvents and soaps clean less effectively than those at moderate temperatures.
Timing Strategies
Start cleaning immediately after finishing your painting session. Every minute of delay makes the cleaning process more difficult and less effective.
If you must stop painting mid-project, wrap rollers tightly in plastic wrap to prevent air exposure. This technique keeps paint workable for hours or even overnight.
Quality Investment
Invest in high-quality roller covers and cleaning tools. Premium rollers hold more paint, apply more evenly, and clean more thoroughly than cheap alternatives.
Professional-grade cleaning tools like roller spinners and specialized brushes save time and deliver better results than improvised cleaning methods.
Conclusion
Proper paint roller cleaning is essential for successful painting projects and tool longevity. The few minutes spent cleaning rollers thoroughly after each use prevents frustration and expense down the road.
Remember that immediate action produces the best cleaning results. Don’t let paint dry on your rollers – start the cleaning process as soon as you finish painting.
With the right techniques and tools, you can keep your paint rollers in excellent condition for years of reliable service. Clean rollers produce professional-quality results that make every painting project more successful and enjoyable.
Take care of your painting tools, and they’ll take care of you. A well-maintained roller is always ready for your next painting adventure, whether it’s a small touch-up job or a complete room makeover.