How to Make Vinyl Flooring Shine?
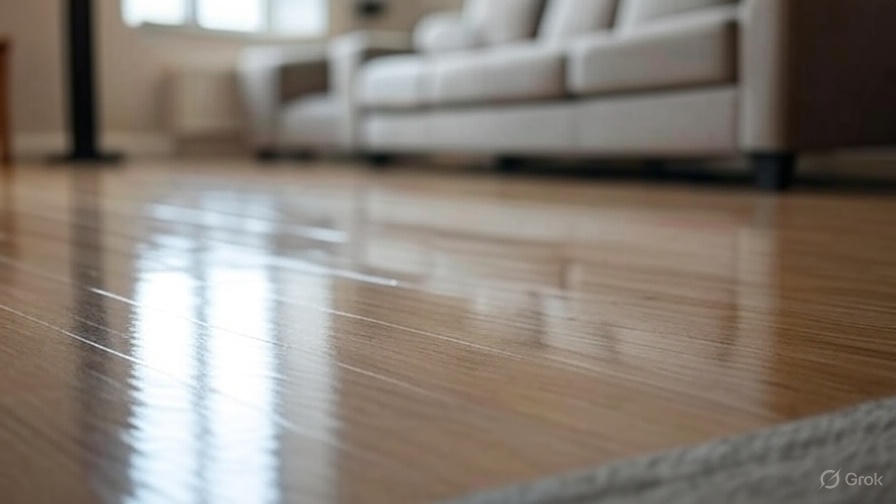
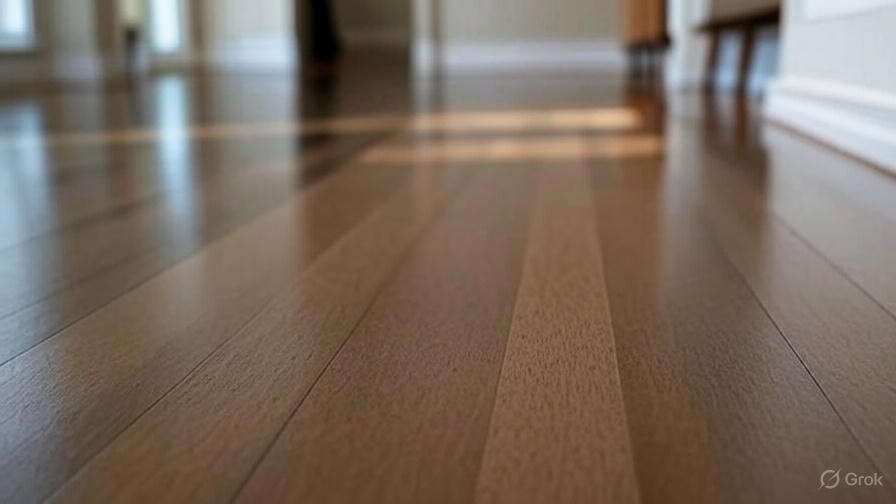
Vinyl flooring has become the go-to choice for millions of homeowners seeking durability, affordability, and style. However, even the most beautiful vinyl floors can lose their luster over time, leaving you wondering how to restore that showroom shine. The good news? You can bring back that gorgeous gleam with the right techniques and products.
This comprehensive guide reveals proven methods to make your vinyl flooring shine like new. From simple daily maintenance to deep cleaning techniques, you’ll discover everything needed to transform dull, lifeless floors into stunning surfaces that reflect light beautifully.
Why Vinyl Floors Lose Their Shine
Before diving into restoration methods, let’s examine why vinyl flooring becomes dull in the first place. Understanding these causes helps prevent future problems and maintain that brilliant shine longer.
Daily foot traffic creates microscopic scratches on the surface. These tiny imperfections scatter light instead of reflecting it, creating a hazy appearance. Dirt and grime build up in these scratches, making the problem worse over time.
Improper cleaning products strip away the protective coating that gives vinyl its natural luster. Many all-purpose cleaners contain harsh chemicals that damage the surface, leaving behind a residue that attracts more dirt.
Hard water leaves mineral deposits that create a chalky film. This buildup prevents light from bouncing off the surface properly, resulting in a cloudy, dull appearance.
Excessive moisture trapped beneath the surface can cause the vinyl to warp or develop a hazy appearance. This typically happens when too much water is used during cleaning or when spills aren’t cleaned up promptly.
Essential Supplies for Shining Vinyl Floors
Gathering the right tools and products makes the difference between mediocre results and professional-quality shine. Here’s what you’ll need for different cleaning approaches.
Basic Daily Maintenance:
- Microfiber mop or cloth
- pH-neutral vinyl floor cleaner
- Warm water
- Vacuum or broom
- Dry microfiber cloths
Deep Cleaning Arsenal:
- White vinegar
- Baking soda
- Dish soap (gentle, non-degreasing)
- Soft-bristled brush
- Rubber gloves
- Bucket for mixing solutions
Advanced Shine Enhancement:
- Commercial vinyl floor polish
- Floor buffer or polishing machine
- Clean applicator pads
- Protective floor wax (optional)
- Lint-free polishing cloths
Step-by-Step Daily Cleaning for Consistent Shine
Daily maintenance prevents dirt buildup and preserves your floor’s natural luster. This routine takes just minutes but delivers impressive long-term results.
Start by removing loose debris with a vacuum or broom. Pay special attention to corners and edges where dirt tends to accumulate. This step prevents scratching during the mopping process.
Mix your pH-neutral cleaner according to package directions. Hot water can damage vinyl, so stick to warm or cool temperatures. Too much cleaner creates residue, so use the recommended dilution ratio.
Mop using figure-eight patterns rather than straight lines. This technique lifts dirt more effectively and prevents streaking. Work in small sections, rinsing your mop frequently in clean water.
Immediately dry the floor with clean microfiber cloths. This step prevents water spots and removes any remaining cleaner residue. The drying process also helps reveal the floor’s natural shine.
Never let cleaning solution sit on vinyl surfaces for extended periods. The chemicals can penetrate the protective layer and cause permanent damage or discoloration.
Deep Cleaning Methods for Heavily Soiled Floors
When daily cleaning isn’t enough, deep cleaning techniques restore shine to neglected vinyl floors. These methods require more time but deliver dramatic results.
The Vinegar Solution Method:
Create a cleaning solution using one cup of white vinegar per gallon of warm water. Vinegar cuts through mineral deposits and soap scum without damaging vinyl surfaces. The acidic properties dissolve buildup that regular cleaners leave behind.
Apply the solution generously across the floor using a mop or spray bottle. Allow it to sit for 3-5 minutes to break down stubborn grime. The vinegar will start working immediately, but patience yields better results.
Scrub high-traffic areas with a soft-bristled brush, using circular motions to lift embedded dirt. Focus on areas around doorways, in front of sinks, and other spots that see heavy use.
Rinse thoroughly with clean water to remove all vinegar residue. Any remaining acid can dull the surface over time, so this step is crucial for maintaining shine.
The Baking Soda Paste Treatment:
For particularly stubborn stains or scuff marks, create a paste using baking soda and water. This gentle abrasive removes marks without scratching the vinyl surface.
Apply the paste to problem areas and let it sit for 10 minutes. The baking soda will start lifting stains and breaking down residue during this time.
Gently scrub with a soft cloth or brush, then rinse thoroughly. The mild abrasive action removes surface imperfections that prevent proper light reflection.
Professional-Grade Polishing Techniques
Taking your vinyl floors from clean to spectacular requires polishing techniques that restore the surface to like-new condition. These methods produce results comparable to professional floor services.
Machine Polishing for Maximum Shine:
Rent or purchase a floor buffer with soft polishing pads. These machines distribute polish evenly and work it into the vinyl surface more effectively than hand application.
Apply commercial vinyl floor polish in thin, even coats using the manufacturer’s recommended technique. Most products work best when applied in overlapping patterns to ensure complete coverage.
Allow each coat to dry completely before applying additional layers. Most vinyl floors benefit from 2-3 thin coats rather than one thick application. This builds up a durable shine that lasts longer.
Buff the final coat with clean pads to remove any haze and bring up maximum gloss. The buffing action aligns the polish molecules for optimal light reflection.
Hand Polishing for Targeted Areas:
Use clean microfiber cloths to apply polish to small areas or touch up spots that need extra attention. Work the polish into the surface using circular motions.
Apply light pressure and work in manageable sections. Too much pressure can create streaks, while working too large an area prevents proper polish distribution.
Allow proper drying time between coats. Rushing this process results in cloudy, uneven coverage that detracts from the overall appearance.
Natural Shine Enhancement Solutions
Many homeowners prefer natural alternatives to commercial floor polish. These eco-friendly options deliver impressive results without harsh chemicals.
Olive Oil and Vinegar Treatment:
Combine equal parts olive oil and white vinegar in a spray bottle. Shake well before each use to ensure proper mixing. This natural solution cleans and conditions vinyl in one step.
Spray lightly across the floor and wipe immediately with a microfiber cloth. The vinegar cleans while the oil adds a subtle shine and helps protect the surface.
Use this treatment sparingly – too much oil can attract dirt and create a slippery surface. A light application every few weeks maintains shine without buildup.
Club Soda Shine Booster:
Pour club soda directly onto the floor or apply with a mop. The carbonation and minerals in club soda help dissolve residue and add natural shine.
Work quickly while the carbonation is still active. The bubbling action lifts dirt and grime more effectively than still water.
Follow with a clean water rinse and thorough drying. This simple technique adds immediate shine and costs just pennies per application.
Troubleshooting Common Shine Problems
Even with proper technique, certain issues can prevent vinyl floors from achieving maximum shine. Here’s how to identify and solve the most common problems.
Streaky or Hazy Appearance:
Streaking usually results from too much cleaning product or inadequate rinsing. Strip the floor with a vinegar solution, rinse thoroughly, and start fresh with properly diluted cleaner.
Hard water can also cause streaking. Use distilled water for final rinses, or install a water softener system to prevent mineral buildup.
Dull Spots That Won’t Shine:
Permanent damage from harsh chemicals or abrasive cleaners can create dull spots that resist polishing. Try gentle buffing with fine-grade steel wool, but test in an inconspicuous area first.
If buffing doesn’t help, these areas may need professional restoration or replacement. Prevention through proper cleaning is always better than attempting to repair damage.
Polish That Won’t Adhere:
Old wax or polish buildup prevents new products from adhering properly. Strip the floor completely using a commercial wax stripper or strong vinegar solution before applying new polish.
Ensure the floor is completely clean and dry before polishing. Any residue, including soap film, will interfere with proper adhesion.
Maintaining Your Newly Shined Floors
Preserving that beautiful shine requires ongoing care and attention. These maintenance tips keep your vinyl floors looking their best between deep cleaning sessions.
Place quality mats at all entrances to trap dirt and moisture before they reach your vinyl floors. This simple step prevents much of the damage that causes dullness over time.
Clean spills immediately to prevent staining and water damage. Even water-resistant vinyl can be damaged by prolonged exposure to liquids.
Use furniture pads under all legs and heavy items to prevent scratches and indentations. These protective measures preserve the smooth surface needed for optimal shine.
Rotate area rugs periodically to ensure even wear patterns. This prevents some areas from becoming noticeably duller than others.
When to Call Professional Floor Services
Some situations require professional expertise to achieve desired results. Recognizing these scenarios saves time and prevents further damage to your floors.
Extensive damage from improper cleaning products may need professional restoration. Trained technicians have specialized equipment and products not available to consumers.
Large commercial spaces benefit from professional maintenance programs. The scale and traffic levels in these environments require industrial-grade equipment and techniques.
Historic or high-value vinyl installations may warrant professional care to preserve their integrity and appearance. The cost of professional service is often less than replacement expenses.
Long-Term Care Strategies
Developing a comprehensive care plan ensures your vinyl floors maintain their shine for years to come. This proactive approach prevents problems before they start.
Schedule deep cleaning sessions quarterly or semi-annually, depending on traffic levels. Regular deep cleaning prevents the buildup that causes permanent dullness.
Keep detailed records of products used and results achieved. This information helps you refine your technique and avoid products that don’t work well with your specific flooring.
Budget for periodic professional maintenance or equipment upgrades. Quality tools and products pay for themselves through better results and longer floor life.
Stay informed about new vinyl care products and techniques. The flooring industry constantly develops better solutions for maintaining and enhancing vinyl surfaces.
Conclusion
Transforming dull vinyl floors into gleaming surfaces doesn’t require professional services or expensive equipment. With the right knowledge, tools, and techniques, you can achieve stunning results that rival showroom floors.
The key lies in understanding your floor’s specific needs and developing a consistent care routine. Daily maintenance prevents most problems, while periodic deep cleaning and polishing restore that coveted shine.
Remember that patience and proper technique produce better results than rushing through the process. Take time to clean thoroughly, apply products correctly, and allow proper drying between steps.
Your investment in learning these techniques pays dividends in the form of beautiful floors that enhance your home’s appearance and value. Start with basic daily care, then gradually incorporate advanced techniques as you gain experience and confidence.
Most importantly, enjoy the process of transforming your floors. There’s genuine satisfaction in seeing dull, lifeless vinyl restored to its original beauty through your own efforts and expertise.

