How to Shorten Cordless Mini Blinds?
Cordless mini blinds offer a sleek, modern window treatment solution that eliminates the safety hazards of traditional corded blinds. However, getting the perfect fit for your windows often requires shortening these blinds to match your exact measurements. Many homeowners face this challenge when their new cordless window coverings arrive longer than needed.
This comprehensive guide walks you through the entire process of shortening cordless mini blinds, from gathering the right tools to making precise cuts that maintain the blind’s functionality and appearance. You’ll learn professional techniques that ensure clean results while avoiding common mistakes that could damage your investment.
Why Shorten Cordless Mini Blinds?
Standard cordless mini blinds come in common lengths that rarely match every window perfectly. Most manufacturers produce blinds in increments of 6 to 12 inches, leaving gaps between standard sizes and your specific window measurements. Shortening blinds allows you to achieve a custom fit without paying premium prices for made-to-measure options.
Properly fitted cordless blinds enhance your room’s aesthetic appeal while improving light control and privacy. Blinds that hang too long create an unprofessional appearance and may interfere with furniture placement or daily activities. Conversely, blinds that are too short leave unwanted gaps at the bottom of your windows.
The shortening process also gives you control over the final appearance of your window treatments. You can adjust the length to align perfectly with window sills, furniture pieces, or architectural features in your room.
Essential Tools and Materials
Before starting your blind shortening project, gather these necessary tools and materials:
Cutting Tools:
- Sharp scissors or tin snips for fabric components
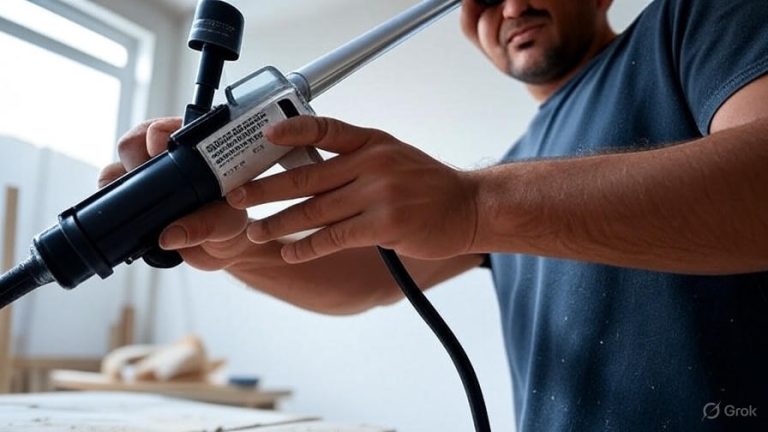
- Hacksaw or miter saw for metal or wooden slats
- Utility knife with fresh blades
- Fine-tooth saw for precise cuts
Measuring Equipment:
- Steel measuring tape
- Pencil for marking
- Straight edge or ruler
- Level for accuracy
Hardware and Supplies:
- Replacement bottom rail plugs (if available)
- Small screwdriver set
- Needle-nose pliers
- Masking tape
- Fine-grit sandpaper
Safety Equipment:
- Safety glasses
- Work gloves
- Dust mask when cutting
Having the right tools prevents damage to your blinds and ensures professional-looking results. Quality cutting tools make clean cuts that won’t fray ladder strings or create rough edges on slats.
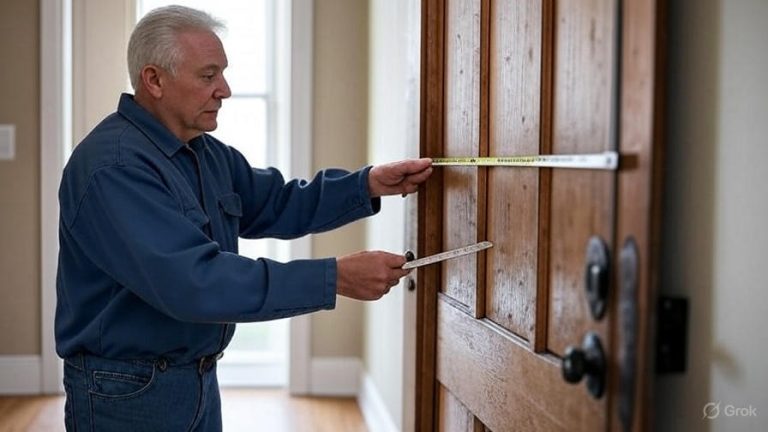
Measuring Your Windows Accurately
Accurate measurements form the foundation of successful blind shortening. Start by measuring your window opening from top to bottom at three different points: left side, center, and right side. Windows aren’t always perfectly square, so use the shortest measurement to ensure your blinds fit properly.
Decide whether you want an inside mount or outside mount installation. Inside mount blinds fit within the window frame, while outside mount blinds cover the entire window opening and surrounding frame. This decision affects your final measurements significantly.
For inside mount installations, subtract 1/4 inch from your shortest measurement to allow for easy operation. Outside mount blinds should extend 2-3 inches beyond the window frame on each side for optimal light blocking and privacy.
Record your measurements carefully and double-check them before making any cuts. Mistakes in measurement are difficult to correct once you’ve shortened your blinds.
Step-by-Step Shortening Process
Removing the Bottom Rail
Begin by fully extending your cordless mini blinds and laying them flat on a clean work surface. Locate the bottom rail, which is typically the heaviest component and contains the cord lock mechanism in cordless systems.
Examine how the ladder strings attach to the bottom rail. Most cordless mini blinds use small plugs or caps that secure the ladder strings. Carefully remove these plugs using needle-nose pliers or a small screwdriver. Keep these plugs safe, as you’ll need them for reassembly.
Once you remove the plugs, the ladder strings will release from the bottom rail. Pull the strings gently to free them completely. Set the bottom rail aside in a safe location where it won’t get damaged or lost.
Counting and Marking Slats
Count the number of slats you need to remove to achieve your desired length. Remember that each slat adds approximately 1/2 to 3/4 inch to the overall length, depending on your blind’s design and slat overlap.
Mark the slats you plan to remove using masking tape or a pencil. This visual guide prevents confusion during the cutting process and helps you maintain consistent spacing.
Start counting from the bottom of the blind, as removing slats from the top would interfere with the headrail mechanism. Work systematically to avoid removing the wrong slats or cutting more than necessary.
Cutting Ladder Strings
The ladder strings in cordless mini blinds consist of two parallel cords connected by horizontal rungs. These strings support each slat and guide the blind’s movement during operation.
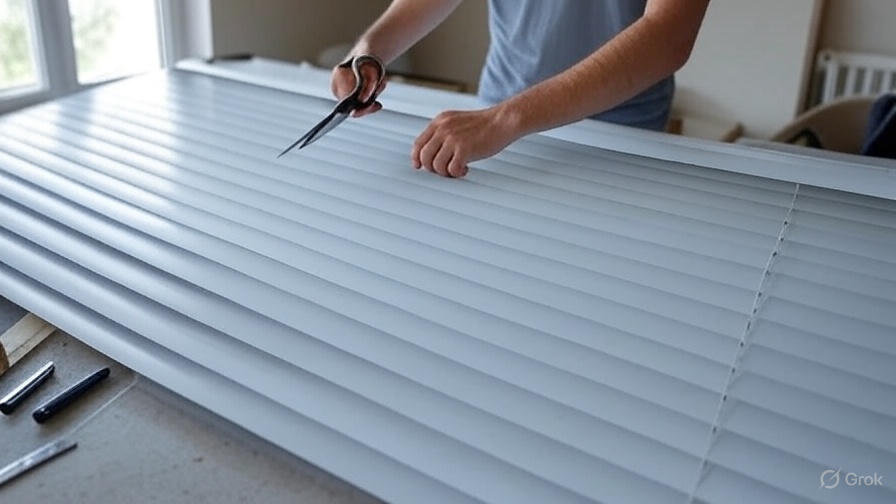
Cut the ladder strings just below the last slat you want to keep. Use sharp scissors to make clean cuts that won’t fray the string material. Cut both sides of the ladder string system simultaneously to maintain balance.
Leave approximately 2-3 inches of extra string length below your cutting point. This excess allows you to tie secure knots and attach the strings to the bottom rail properly.
Removing Excess Slats
After cutting the ladder strings, remove the marked slats by sliding them out of the ladder string system. Work carefully to avoid damaging the remaining slats or tangling the strings.
Some slats may resist removal due to tight fits in the ladder strings. Gently work these slats back and forth while pulling them out. Avoid using excessive force that could break the slats or damage the string system.
Stack the removed slats neatly for potential future use or proper disposal. These slats can serve as replacements if you damage any remaining slats during installation or use.
Reattaching the Bottom Rail
Thread the cut ends of the ladder strings through the appropriate holes in the bottom rail. The string routing should match the original configuration to ensure proper operation.
Tie secure knots in the ladder strings to prevent them from pulling back through the bottom rail holes. Double knots work well for most string materials, but test the knots by gently pulling on them.
If your bottom rail uses plugs or caps to secure the strings, reinstall these components after tying your knots. Push the plugs firmly into place to ensure they won’t come loose during blind operation.
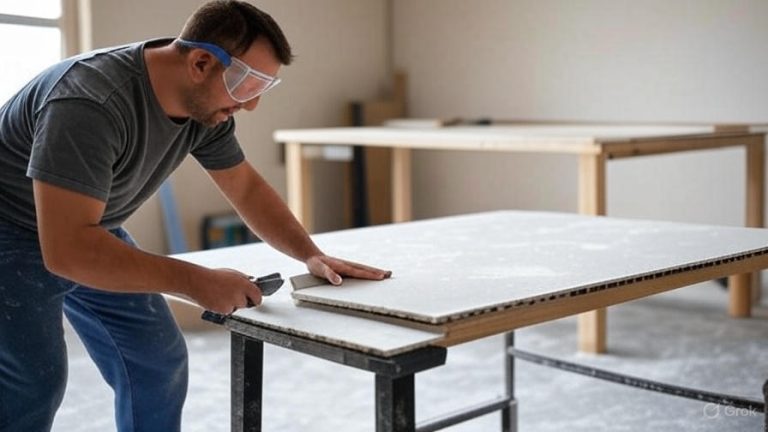
Professional Tips for Clean Results
Cutting Techniques
When cutting slats, use steady, controlled motions rather than trying to rush through the material. Hurried cuts often result in rough edges, splintering, or uneven lengths that detract from the finished appearance.
For metal slats, use tin snips or a fine-tooth hacksaw. Support the slat near the cutting point to prevent bending or distortion. Sand any rough edges with fine-grit sandpaper for a smooth finish.
Wooden slats require a sharp saw with fine teeth to prevent splintering. Mark your cutting line clearly and use a straight edge as a guide. Consider using masking tape over the cutting line to reduce splintering.
String Management
Keep ladder strings organized throughout the shortening process. Tangled strings are difficult to untangle and may require complete replacement if damaged severely.
When cutting strings, make your cuts perpendicular to the string length for the cleanest possible edge. Angled cuts can cause fraying and make it difficult to thread strings through bottom rail holes.
Test the string tension after reassembly by operating the blind several times. Uneven tension can cause the blind to hang crooked or operate improperly.
Quality Control
Inspect your work at each step before proceeding to the next phase. Catching mistakes early saves time and prevents more significant problems later in the process.
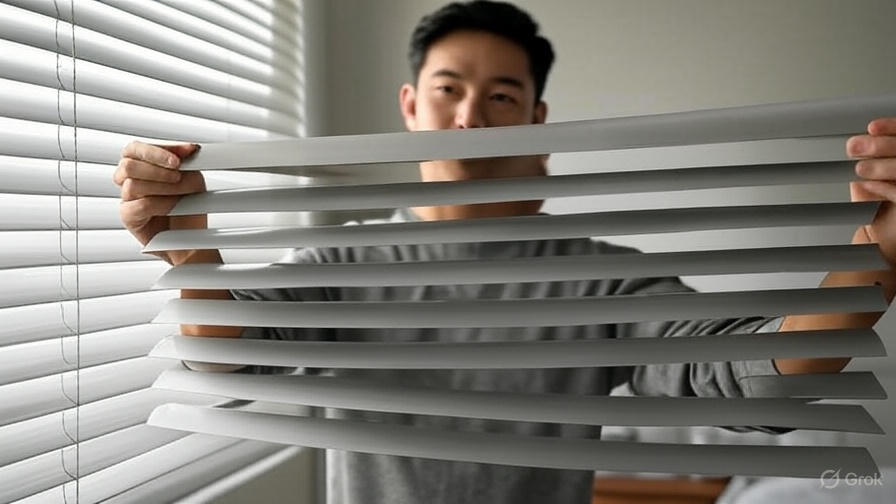
Check that all slats hang evenly and parallel to each other. Misaligned slats indicate problems with string tension or attachment points that need correction.
Verify that the bottom rail sits level and secure. A loose or crooked bottom rail affects the entire blind’s appearance and operation.
Common Mistakes to Avoid
Measurement Errors
The most costly mistake in blind shortening involves incorrect measurements. Always measure twice and cut once. Consider making a paper template of your desired blind length before making any permanent cuts.
Don’t forget to account for the headrail height when calculating your total blind length. The headrail adds 1-2 inches to the overall measurement that many people overlook.
Avoid measuring windows while existing blinds or curtains are in place, as these can interfere with accurate measurements.
Cutting Too Much
Start conservatively with your shortening project. You can always remove additional slats if needed, but you cannot add slats back once they’re cut away.
Cut one or two fewer slats than you think you need initially. Test fit the blind and remove additional slats only if necessary for the perfect fit.
Keep detailed records of how many slats you remove in case you need to make adjustments or work on similar windows in the future.
String Damage
Handle ladder strings gently throughout the shortening process. Damaged strings often require complete replacement, which can be more expensive than buying new blinds.
Avoid pulling strings with excessive force when removing slats. Work slowly and patiently to prevent string breakage or separation.
Use appropriate cutting tools for string material. Dull scissors can crush strings rather than cutting them cleanly, leading to fraying and premature failure.
Troubleshooting Common Issues
Uneven Hanging
If your shortened blind hangs unevenly after reassembly, check the ladder string tension on both sides. Unequal string lengths cause one side to hang lower than the other.
Adjust string length by retying knots at the bottom rail. Make small adjustments until both sides hang evenly. This process may require several attempts to achieve perfect balance.
Verify that the bottom rail sits perfectly horizontal. A tilted bottom rail indicates string length problems that need correction.
Operation Problems
Cordless blinds that don’t raise or lower smoothly after shortening often have string tension issues. Check that all strings move freely through their guides and aren’t pinched or bound anywhere.
Examine the headrail mechanism for debris or damage that might interfere with operation. Clean any dust or construction debris from the mechanism using compressed air or a soft brush.
Lubricate moving parts sparingly with appropriate lubricants if operation remains stiff after cleaning.
Appearance Issues
Rough cut edges on slats detract from the professional appearance of your shortened blinds. Sand rough edges smooth and touch up any scratches with appropriate paint or stain.
Frayed ladder strings look unprofessional and may fail prematurely. Trim frayed ends cleanly or replace damaged strings if fraying is extensive.
Ensure all slats align properly and maintain consistent spacing. Misaligned slats create an untidy appearance that draws attention to the modification work.
Maintenance After Shortening
Regular maintenance keeps your shortened cordless mini blinds looking and operating like new. Dust slats weekly using a microfiber cloth or vacuum brush attachment to prevent buildup that can interfere with operation.
Inspect ladder strings periodically for signs of wear or fraying. Early detection of string problems allows for repairs before complete failure occurs.
Check bottom rail attachment points monthly to ensure strings remain secure. Retighten knots or replace plugs if they show signs of loosening.
When to Consider Professional Help
Some blind shortening projects exceed typical DIY skill levels or available tools. Consider professional installation services for expensive blinds, complex mechanisms, or when you lack confidence in your cutting abilities.
Professionals have specialized tools and experience that often produce better results than DIY attempts. The cost of professional shortening may be justified by avoiding mistakes that could ruin expensive blinds.
Custom blind manufacturers sometimes offer shortening services for their products. This option provides factory-quality results with proper warranties on the work performed.
Cost Considerations
DIY blind shortening costs significantly less than buying new custom-sized blinds. Basic tools and materials typically cost $20-50, compared to hundreds of dollars for new made-to-measure blinds.
Factor in your time investment when considering DIY versus professional shortening. Complex projects may require several hours of careful work to achieve professional results.
Consider the value of your blinds when deciding whether to shorten them yourself. Expensive blinds may justify professional shortening to protect your investment.
Conclusion
Shortening cordless mini blinds transforms standard-sized window treatments into custom-fitted solutions that enhance your home’s appearance and functionality. This DIY project requires patience, attention to detail, and the right tools, but the results justify the effort involved.
Success depends on accurate measurements, careful cutting techniques, and methodical reassembly procedures. Take your time throughout the process and don’t hesitate to double-check your work at each step.
With practice, you’ll develop the skills and confidence to shorten blinds efficiently while maintaining their professional appearance and smooth operation. This valuable skill saves money while giving you complete control over your window treatment projects.
Remember that practice makes perfect, and your first shortening project may take longer than subsequent ones. Start with less expensive blinds to develop your technique before working on premium window treatments. The satisfaction of achieving perfectly fitted blinds through your own efforts makes the learning process worthwhile.