How to Organize a Study Desk Properly?
A messy study desk can kill your focus and drain your energy before you even start working. When your workspace is cluttered, your mind feels cluttered too. The good news? Organizing your study desk doesn’t have to be hard or expensive. You can create a clean, functional workspace that helps you focus better and work smarter.
Let me walk you through everything you need to know about setting up and maintaining a proper study desk organization system.
Why Your Study Desk Organization Matters
Your desk is more than just furniture. It’s your command center for learning, working, and achieving goals. A well-organized study space directly impacts your productivity and concentration levels.
When your desk is neat and organized, several things happen. First, you spend less time hunting for things you need. Second, your brain doesn’t have to process visual clutter while you’re trying to focus. Third, you feel more motivated to sit down and get work done. Studies show that people work better in clean environments because their minds can focus on the task at hand instead of the chaos around them.
Think about your last study session. Did you waste time looking for a pen? Did papers fall off the side of your desk? Did you feel stressed just looking at the workspace? These problems stem from poor desk organization. The solution is to create a system that works for you.
Step 1: Clear Everything Off Your Desk First
Start with a blank slate. Yes, everything has to go.
Take 30 minutes and remove every single item from your desk surface. Put them on your bed, the floor, or a nearby table. This step is crucial because you need to see your actual desk and decide what you really need and what you don’t.
As you clear your desk, be honest with yourself. Do you actually use that old coffee mug? Are those papers still relevant? Throw away trash, recycle old papers, and set aside things that don’t belong on your study desk.
Once your desk is completely empty, wipe it down. Use a cloth or some cleaning spray to remove dust and debris. A clean surface makes your workspace feel fresh and new. This simple action boosts your motivation to keep the desk organized going forward.
Step 2: Evaluate Your Desk Layout and Workspace Setup
Now that your desk is clean, think about how you arrange it. The layout of your study desk affects how comfortable and productive you’ll be.
Start by thinking about your daily tasks. What do you use most often? A computer? Notebooks? Reference books? Place these items within arm’s reach. Items you use less frequently can go in drawers or on shelves nearby.
Your desk should follow a natural flow. If you’re right-handed, keep your most-used items on the right side. If you’re left-handed, do the same on the left. Your dominant side should have quick access to pens, notebooks, and tools you reach for constantly.
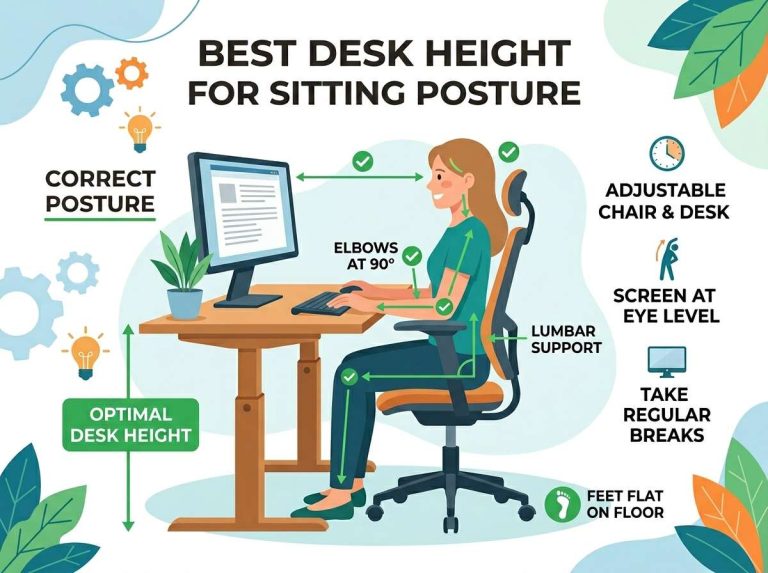
Height matters too. Your monitor screen should be at eye level when you sit straight. Your arms should rest at a 90-degree angle when using your keyboard. If your desk setup doesn’t allow this, you can use monitor stands, cushions, or keyboard trays to adjust the height.
Step 3: Choose the Right Storage Solutions for Your Desk Organization
Good storage is the foundation of a clean desk. You need places to put things away so your surface stays clear.
Start with desk drawers. Use drawer dividers or small boxes to create sections. One section can hold pens and pencils. Another can store sticky notes and notepads. A third can keep your cables organized. This compartment approach makes finding things quick and easy.
Next, think about shelves. Wall shelves above your desk give you storage without eating up surface space. You can keep reference books, decorative items, or supplies on these shelves. Just make sure they don’t block your desk space or make the area feel cramped.
A filing system helps organize papers and documents. Use a simple filing cabinet, magazine holders, or vertical file organizers. Label everything clearly so you know exactly what’s inside each folder. This prevents important papers from getting lost in the chaos.
Pen holders and desk organizers keep your writing tools in one place. They look nice and save you from hunting through drawers looking for a pen. You can use a simple cup, a decorative holder, or a carousel organizer. Pick something that fits your style and holds what you need.
Desk caddies work great for holding supplies you use daily. These hanging organizers attach to the side of your desk and can hold scissors, tape, sticky notes, and more. They free up drawer space and keep everything visible and accessible.
Step 4: Organize Cords and Cables in Your Work Area
Cables are a major source of desk clutter. Computer cords, charging cables, headphone wires—they pile up fast and look messy.
Start by identifying every cable you actually use. Unplug cables you don’t need and store them elsewhere or get rid of them. For cables you do use, bundle them together using cable ties or velcro straps. This prevents them from spreading across your desk like spaghetti.
Get a cable organizer box or use labeled clips to route cables behind your desk. When cables are hidden and organized, your workspace instantly looks cleaner and more professional. You’ll also find it easier to access what you need without tripping over wires.
Label each cable at both ends using small stickers or tape. This saves time when you need to unplug something specific. Nothing is worse than unplugging the wrong cable and losing your work.
Step 5: Create Zones on Your Study Desk
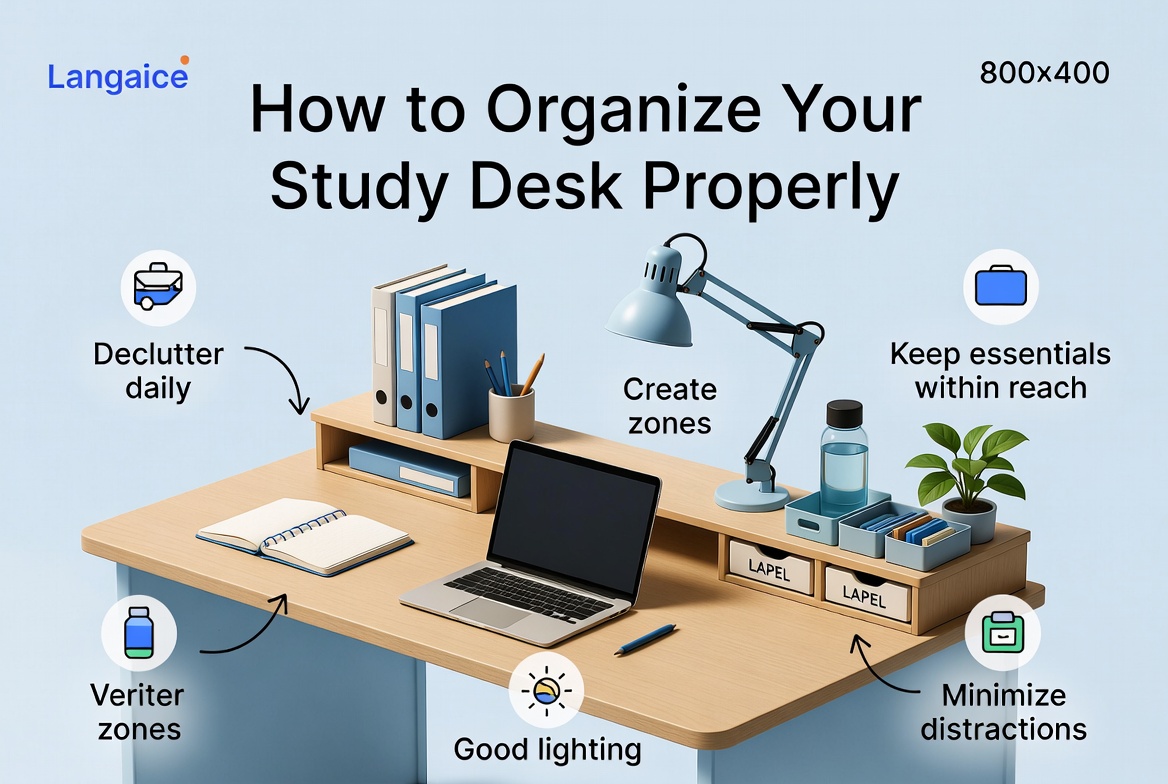
Dividing your desk into zones helps you stay organized and work efficiently. Different zones serve different purposes, and keeping them separate maintains order.
Create a computer zone where your monitor, keyboard, and mouse live. Keep this area clear except for the essentials. No snacks, papers, or decorations here—just the tools you need for digital work.
Next, set up a writing zone with pens, pencils, notebooks, and paper. This is where you do handwriting work and note-taking. Keep these items together in a small cluster so you don’t scatter them across your desk.
Make a reference zone for books, dictionaries, or notes you consult while studying. Stack these neatly or place them on a shelf nearby. When you need to look something up, you know exactly where to find it.
Finally, create an inbox zone for items that need processing. This might be papers to read, assignments to complete, or bills to handle. Once you deal with these items, move them out of this zone. Your inbox shouldn’t become a permanent pile.
Step 6: Maintain Your Desk Organization System
Organization only works if you maintain it. Set aside ten minutes at the end of each day to tidy up your desk.
Here’s a simple routine: File away papers you don’t need anymore. Put away pens and pencils that rolled around. Return items to their homes in your drawers or organizers. Wipe your desk surface clean. This daily habit prevents clutter from building back up.
Once a week, do a deeper clean. Dust your desk, organize your drawers, and reevaluate what you’re keeping. If something isn’t serving a purpose, get rid of it.
Create a rule for yourself: nothing lands on your desk surface unless you’re using it right now. Once you finish with something, it goes back to its home. This rule keeps your workspace clear and your mind focused.
Step 7: Add Personal Touches to Your Productive Workspace
A study desk doesn’t have to be boring. You can make it personal while keeping it organized.
Add a small plant to your desk. Plants improve air quality and make your workspace feel more alive. Pick something low-maintenance like a succulent or small pothos plant.
Include a photo or two of people you love. A small frame with a favorite memory boosts your mood when you’re feeling stressed about your work.
Use a desk lamp that provides good lighting without being harsh. Good lighting reduces eye strain and helps you focus. Pick a lamp you actually like looking at.
Add a desk mat or pad that matches your style. It protects your desk surface and defines your workspace. You can find affordable options in many colors and patterns.
Keep a small decoration or figurine on a corner of your desk. Just one or two items is enough. Too many decorations become visual clutter and steal your focus.
Step 8: Keep Your Study Space Ergonomic and Comfortable
An organized desk is only helpful if you can actually work there comfortably. Pay attention to ergonomics as you set up your workspace.
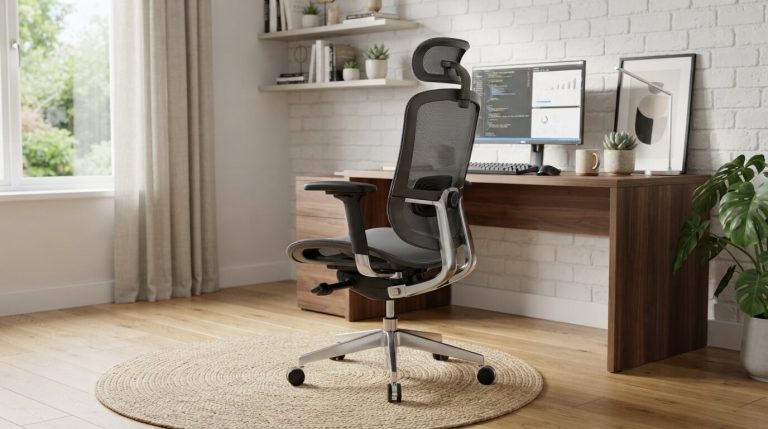
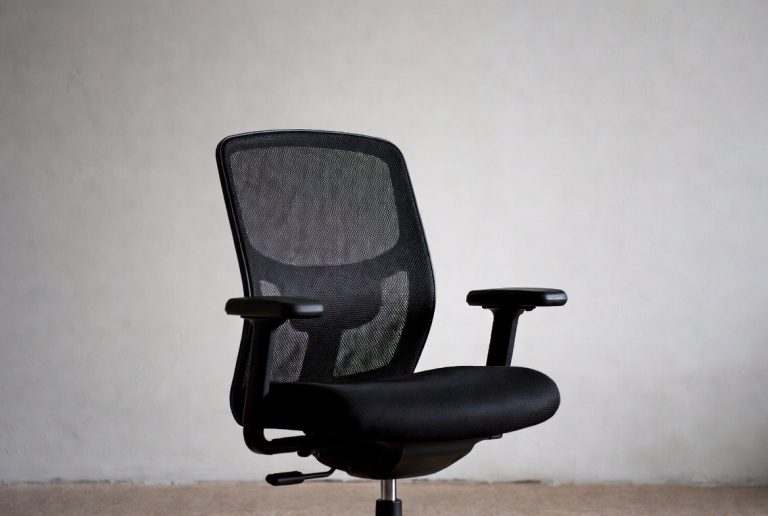
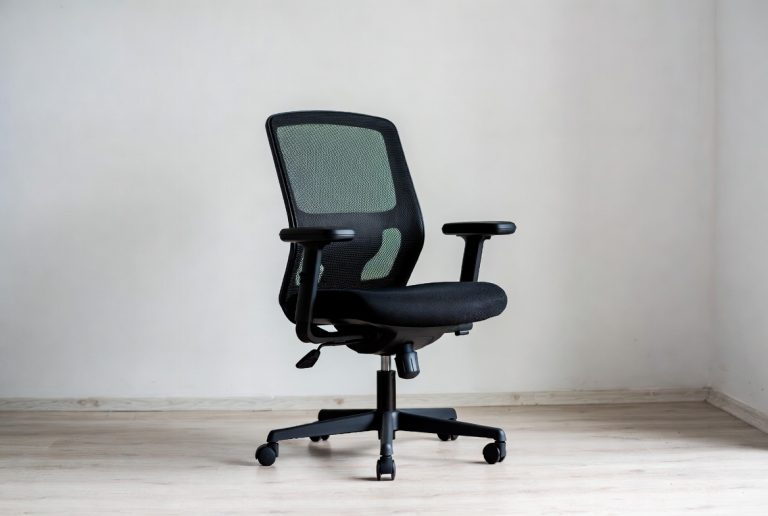
Your chair should support your back and allow your feet to rest flat on the floor. If your current chair is uncomfortable, investing in a good one pays off in better focus and fewer aches.
Your desk height should allow your elbows to rest at a 90-degree angle when you’re working. If your desk is too high or low, adjustments will make a big difference in comfort.
Your monitor should be about an arm’s length away and positioned so the top of the screen is at or slightly below eye level. This prevents neck strain.
Keep frequently used items within the zone you can reach without leaning or twisting. This natural reach zone is about two feet in all directions from where you sit.
Good lighting is crucial. Your desk lamp should light up your work area without creating shadows or glare. Natural light is great too, but position your desk so the sun doesn’t create a glare on your screen.
Step 9: Deal With Papers and Documents Smart
Papers pile up fast and destroy desk organization. You need a system for managing them.
Sort papers into three piles: keep, recycle, and shred. Be strict with yourself. If you haven’t looked at a paper in over a month, you probably don’t need to keep it.
For papers you do keep, use a filing system. Label folders clearly and put similar papers together. Store these folders in a small cabinet or organizer next to your desk, not on top of it.
Digitize important documents when possible. Take photos with your phone or scan documents with a scanner. Store digital copies in organized folders on your computer. This reduces paper clutter significantly.
Create a “to-do” pile for papers that require action. Review this pile daily and work through the items. Once you handle a paper, file it or recycle it immediately.
Don’t let papers accumulate on your desk surface. As soon as you’re done with a paper, take action on it and move it away.
Step 10: Establish a Sustainable Organization Habit
The best desk organization system is one you can maintain long-term. Create habits that keep your workspace organized without requiring constant effort.
Start small. Don’t try to reorganize everything at once. Pick one area, organize it well, and then move to the next area. This approach prevents burnout.
Make tidying fun. Play music while you organize. Set a timer and make it a game. The more you enjoy the process, the more likely you’ll stick with it.
Get other people involved if you live with roommates or family. When everyone cares about the shared space, it stays cleaner and more organized.
Review your system every month. Ask yourself: Is this working? Do I need to change anything? Your needs change over time, so your organization system should adapt too.
Reward yourself for maintaining your organized desk. When you’ve kept it clean for a week or a month, treat yourself to something small. This positive reinforcement helps the habit stick.
The Bottom Line: Your Organized Study Desk Awaits
Organizing your study desk properly transforms how you work and study. A clean, organized workspace helps you focus better, work faster, and feel more motivated. You’ll spend less time hunting for things and more time actually accomplishing your goals.
Start with clearing everything off. Then evaluate your layout. Add smart storage solutions. Create zones. Maintain the system with daily habits. Make it personal. Keep ergonomics in mind. Manage papers well. Build sustainable habits.
You don’t need expensive furniture or fancy organizers. You just need a clear plan and a commitment to keeping your space clean. Once you implement these steps, you’ll notice an immediate difference in how you feel about your work environment.
Your study desk is a tool that serves you. When it’s organized, you can use it at your full potential. When it’s messy, it holds you back. The choice is yours, and the payoff is huge.
Start today. Pick one small area of your desk and organize it. Tomorrow, pick another. Before you know it, you’ll have a study space that makes you happy and helps you do your best work. That’s the power of proper desk organization.