How To Adjust Garage Door Sensors
Garage door safety sensors are essential for preventing accidents and protecting your property. When these components lose their alignment, the door may refuse to close or reverse direction unexpectedly. Learning how to adjust garage door sensors is a practical skill that helps homeowners troubleshoot common issues without needing a professional technician. This guide explains the function of these safety devices and provides clear steps for restoring their operation. By following the instructions below, you can identify common problems and perform the necessary adjustments safely. These steps apply to most standard residential garage door opener systems found in modern homes.
Key Takeaways
- Safety sensors must be perfectly aligned for the garage door to close properly.
- Obstructed or dirty lenses are the most frequent causes of sensor malfunctions.
- Most alignment issues can be solved by adjusting the mounting bracket screws.
- Testing the system requires observing the indicator lights on the sensor units.
Why your garage door sensors need alignment
Garage door sensors rely on a precise connection to operate correctly. These devices consist of two small units mounted on either side of the door track, usually a few inches above the floor. They send an invisible infrared beam of light across the opening to detect any obstacles. If this beam is broken by an object, person, or pet, the system signals the opener to stop or reverse the door. When sensors are misaligned, the light beam cannot reach the receiving unit. Even a slight bump from a broom, a parked car, or a storage box can shift a sensor out of position. Because the system is designed with a fail-safe mechanism, it will not allow the door to move if it cannot confirm a clear path. This ensures that the door does not accidentally close on something in its way.
How safety sensors work
The system uses a sending unit and a receiving unit to communicate. The sending sensor transmits a steady light beam, while the receiving sensor waits to detect that specific signal. When the signal is constant, the logic board on the garage door opener knows the path is clear. If the signal is interrupted or the sensors are pointing in different directions, the communication stops. Most systems use colored LED lights to indicate status. A solid light usually means the sensors are aligned and receiving power. A blinking or absent light often signifies that the connection is broken or the sensors are misaligned. This visual feedback is the primary tool for diagnosing problems during the adjustment process.
Signs your sensors are misaligned
The most common sign of a sensor problem is a door that refuses to close. When you press the wall button or remote, the opener lights may flash, and the door remains stationary. This behavior is the system’s way of telling you that the safety beam is not being received. It is a protective measure rather than a mechanical failure of the motor. Another frequent symptom is the door reversing immediately after it starts to close. If the sensors are loose or vibrating, the beam might flicker, causing the opener to interpret this as an obstruction. You might also notice that the door closes fine in the morning but fails during the afternoon. This can happen if shifting temperatures or sunlight interfere with the sensor signal.
Safety precautions before you start
Before attempting any repairs, always disconnect the power to the garage door opener. You can do this by unplugging the unit from the ceiling outlet. If the opener is hardwired, turn off the corresponding circuit breaker in your home electrical panel. This prevents the door from moving unexpectedly while you are working near the tracks. Ensure the area around the sensors is clear of debris and tools. Wear protective gloves if you need to handle metal brackets that might have sharp edges. Do not force any mechanical parts if they feel stuck or rusted, as this can cause damage to the mounting hardware. If a component is visibly broken or the wires are frayed, it is safer to replace the part rather than attempting a repair.
Steps to fix and align your sensors
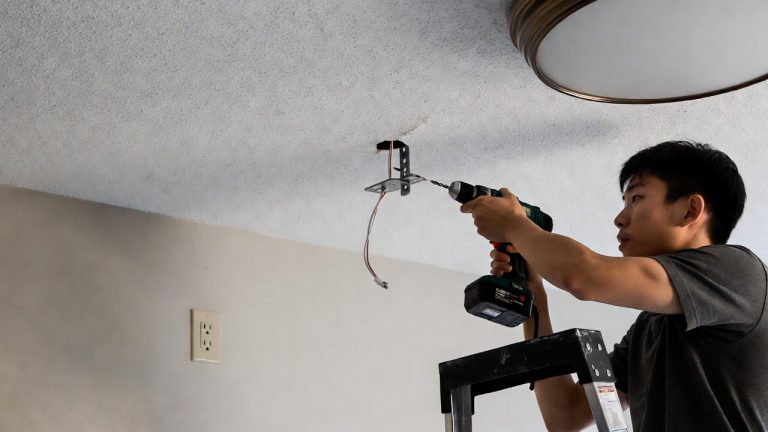
Adjusting the sensors is a straightforward process that requires patience and a few simple tools. Most brackets use a wing nut or a small screw to hold the sensor in place. By loosening these fasteners, you can pivot the sensor to find the correct angle. The goal is to make the sending and receiving units point directly at each other across the garage threshold.
Inspecting the wiring and lenses
Start by examining the wires leading to each sensor. Ensure they are securely connected to the terminals on the sensor unit and the main motor housing. If a wire looks loose, gently push it back into the terminal. Next, check the lenses for any dust, spider webs, or water spots. Wipe them clean with a soft, dry cloth to ensure the beam has a clear path.
Testing the sensor beam
Once the lenses are clean, plug the opener back in and observe the indicator lights. If one light is solid and the other is blinking or off, the alignment is likely off. Slowly turn one sensor while watching the indicator light on the other unit. When the light on the receiving sensor turns solid, you have successfully aligned the beam.
Adjusting the mounting brackets
After finding the correct angle, tighten the wing nut or screw to lock the sensor in place. Check the bracket for stability by giving it a light tap. If the sensor moves, the bracket may be loose and require further tightening. Ensure that both sensors are at the same height from the floor, as specified in the owner manual for the opener.
Troubleshooting common sensor issues
Sometimes the sensors are aligned correctly, but the system still displays an error. This is often due to external factors that affect the infrared signal. If the sensors are working intermittently, look for physical obstacles that might be blocking the beam. Even small items like a garden hose or a child’s toy can cause the system to trigger a safety stop.
Dealing with sunlight interference
Direct sunlight hitting the receiving sensor can sometimes confuse the internal electronics. This is more common if the garage door faces east or west, where low-angle sun can shine directly into the lens. If this occurs, you can try creating a small sunshade by attaching a piece of cardboard or plastic over the sensor. This blocks the glare while still allowing the signal to travel across the floor.
Cleaning the sensor lenses
Over time, moisture and dirt can accumulate on the surface of the lenses. A thin film of grime can weaken the infrared signal enough to cause intermittent failures. Use a microfiber cloth to wipe the lenses periodically. Avoid using harsh chemical cleaners, as these can cloud the plastic or damage the internal components over time.
Frequently Asked Questions
Why does my garage door blink when I try to close it?
The blinking light is a diagnostic code from the opener indicating that the safety sensors are not communicating. This usually means the beam is blocked, the sensors are misaligned, or the wiring is damaged. Checking the alignment and clearing the path between the sensors often resolves this issue.
Can I bypass my garage door safety sensors?
No, you should never attempt to bypass or disable the safety sensors. These devices are critical for preventing serious injury or property damage if the door closes on an obstacle. Bypassing them creates a major safety risk and violates standard building codes for garage door installations.
How do I know if my sensors are broken?
If the sensors have power and are perfectly aligned, but the lights remain off or flash regardless of the position, they may be faulty. Internal electrical failure or water damage within the housing can prevent them from functioning. In these cases, purchasing a replacement set of sensors is the most reliable solution.
Do sensors need to be at a specific height?
Yes, manufacturers provide specific height requirements, usually between four and six inches above the floor. Installing them too high or too low can prevent the door from detecting small objects or pets. Always consult the manual for your specific opener model to find the recommended installation height.
What should I do if the lights on the sensors never turn on?
If neither sensor shows a light, the problem is likely a lack of power reaching the units. Check the connection to the main opener motor and look for any breaks in the low-voltage wiring along the walls. If the wiring is intact, the issue might be with the main logic board on the ceiling unit.
Conclusion
Maintaining your garage door sensors is a simple way to keep your home safe and reliable. By keeping the lenses clean and ensuring the mounting brackets are secure, you can prevent most common malfunctions. When the door fails to close, start by checking the indicator lights and realigning the sensors to restore the infrared path. These steps provide a solid foundation for troubleshooting your garage door system. If the problem persists after you have performed these checks, it may indicate a deeper electrical issue. In such cases, contacting a professional is a wise choice to ensure the system is repaired to safety standards. Keeping your sensors in good condition protects your family and your property every day.

Hi, I’m Mary, the founder of Homygear.com. I’m passionate about creating a comfortable, smart, and beautiful home. I share practical insights and real-world experience on home gear that makes everyday life easier. Behind the scenes, my dedicated research team studies products in depth, and our writers craft honest reviews using trusted, authentic sources—so you can choose home gear with confidence.