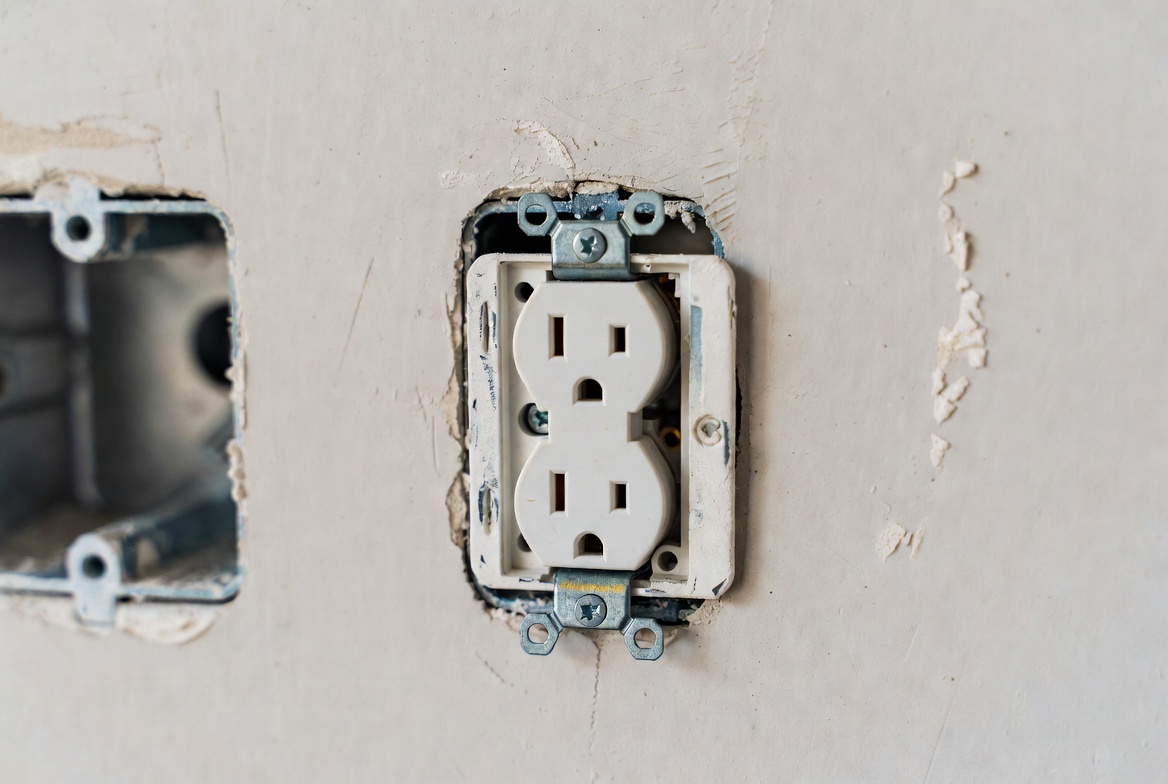
How to Add a Power Outlet?
Need more outlets in your home? You’re not alone. Most of us have more devices than we have places to plug them in. The good news? Adding a power outlet is totally doable, and you don’t need to be an electrician to handle the basic work.
This guide will walk you through the entire process. We’ll cover what you need to know, the tools you’ll use, and the steps to follow. By the end, you’ll understand how to install a new electrical outlet in your home.
Why You Need More Power Outlets
Let’s start with the basics. Your home needs outlets. We use them every day for phones, laptops, coffee makers, and tons of other devices. When you don’t have enough outlets in one room, things get messy.
People often use power strips and extension cords. While these work in a pinch, they’re not ideal. Power strips can overload. Extension cords create tripping hazards. The real solution? Adding actual outlets to your wall.
New outlets also boost your home’s value. Buyers love homes with plenty of electrical access. It makes rooms more functional and modern. If you’re planning to stay in your home for a while, adding outlets is a smart investment.
Safety First: What You Need to Know
Before you touch anything, let’s talk safety. Electricity is powerful and deserves respect. Here are the key safety facts.
Turn off the power. This is the golden rule. Always flip the breaker switch at your electrical panel before you start work. Once it’s off, test the outlet with a voltage tester to make sure it’s actually dead. Don’t skip this step.
Know your limits. Some electrical work requires a professional. If you’re running new circuits or dealing with major rewiring, hire a licensed electrician. For simple outlet installation, you can often do it yourself. Check your local building codes first. Some areas require permits and inspections for all electrical work.
Wear safety gear. Get yourself a pair of work gloves. Safety glasses are also smart. You won’t regret having eye protection when you’re working with tools near your face.
Call before you dig. If you’re running new wiring through your walls, you need to know where existing wires and pipes are. Hitting a live wire can be deadly. Contact your local utility locating service. They’ll mark where everything is buried or hidden. It’s free, and it takes just a few days.
Types of Outlets and What They Mean
Not all outlets are the same. Let’s break down the types you’ll encounter.
Standard 15-amp outlets. These are the basic outlets you see everywhere. They handle everyday devices like lamps, phone chargers, and small appliances. Most bedrooms and living rooms use these.
20-amp outlets. These look similar to 15-amp outlets, but they have a little slot that’s shaped differently. The horizontal slot is slightly shorter on one side. These outlets handle more power and are required in kitchens and bathrooms.
GFCI outlets. These are ground fault circuit interrupter outlets. They’re designed to prevent electrical shocks near water. Every outlet near a sink, tub, or shower should be a GFCI outlet. They have little buttons on the face that test the outlet.
AFCI outlets. These are arc fault circuit interrupter outlets. They protect against electrical fires caused by damaged wires. Bedrooms need AFCI protection in many areas.
Tamper-resistant outlets. These have shutters that protect children from shoving things into the outlet. Building codes now require these in many new installations.
Your choice of outlet depends on where you’re installing it and what you plan to plug in.
Tools and Materials You’ll Need
Let’s get practical. Here’s what to gather before you start.
Electrical wire. Most new outlets run on 12-gauge or 14-gauge wire. Check your local code and match it to your existing wiring. The size matters because it needs to handle the circuit’s amperage.
Wire strippers. These tools remove the plastic coating from wire ends. Get a good pair that feels comfortable in your hand. You’ll use it a lot.
A voltage tester. This is not optional. It checks whether outlets are truly off before you work on them. Buy a simple one at any hardware store.
Screwdrivers. You need both Phillips and flathead screwdrivers. Different screws require different types.
Needle-nose pliers. These help you work with small wires in tight spaces. They make it easier to bend wires into the little loops they need to be.
A fish tape. If you’re running wire through walls, a fish tape helps pull it through. It’s a long, flexible metal tool that slides through wall cavities.
Outlet boxes. These plastic or metal boxes hold the outlet safely in your wall. Buy the right size for your wall thickness.
Wire nuts. These plastic connectors twist wires together. They come in different sizes. Match the size to your wire gauge.
Electrical tape. Use this to secure loose wires. It adds an extra layer of safety.
A stud finder. This tool finds the wooden framing behind your drywall. You’ll use it to locate studs so you can run wires safely between them.
A drywall saw. This cuts holes in your wall for outlet boxes. It looks like a small saw with a sharp point.
An outlet cover plate. This goes over the outlet opening to make it look finished and protect the outlet from dust.
Get all these items before you start. Making trips back and forth wastes time.
The Basic Steps to Add an Outlet
Now we’re getting to the meat of it. Here’s how to actually install a new electrical outlet.
Step One: Plan Your Route
Before you cut anything, figure out where your wire will go. Walk the path from your power source to the new outlet location. Look for the easiest route. Straight lines are better than zigzags. Your wire should stay away from pipes and other obstacles.
Mark the path lightly with a pencil. This helps you remember where you’re going. Walk the path again. Think about potential problems. Will the wire hit a corner? Is there a stud in the way?
Step Two: Find Your Power Source
Your new outlet needs to connect to existing power. You can either tap into an existing outlet or run it from your breaker panel. Tapping into an existing outlet is easier for most people.
Find an outlet that’s on the circuit you want to use. It should be reasonably close to your new outlet location. The closer, the less wire you need to run.
Important: Make sure the existing outlet isn’t overloaded. If the circuit already powers a refrigerator, water heater, or other major appliance, don’t add to it. These devices need their own circuits. If you’re unsure, ask a professional.
Step Three: Turn Off the Power
Go to your electrical panel. It’s usually in your basement, garage, or utility room. Look at the breakers. Each one controls a different circuit. The existing outlet you’re tapping into has a breaker. Find it and flip it to the off position.
Now go back to that outlet. Plug in a lamp or phone charger and test it. If it doesn’t turn on, the power is off. Good. Use your voltage tester on it too. Safety isn’t something to skip.
Step Four: Choose Your Outlet Location
Mark the spot on your wall where you want the new outlet. Use a pencil. Mark it at the standard height, which is usually 12 to 16 inches from the floor. Some people like outlets higher for convenience.
Use your stud finder to make sure you’re not hitting a stud right where you want to put the box. If you are, move it a few inches to the left or right.
Step Five: Cut the Outlet Box Hole
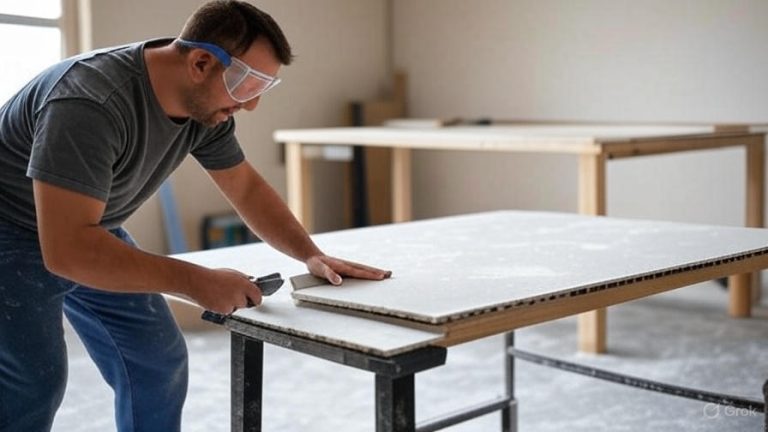
Get your drywall saw. Line it up with your mark. Push the sharp point through the drywall. Once the point goes through, use the saw blade to cut a rectangle. Most outlet boxes need a 1 and ⅜-inch by 2 and ¼-inch hole.
Take your time. A clean hole looks better and is easier to fit the box into. If you mess up, don’t worry. A cover plate will hide small mistakes.
Remove the drywall chunk. Look in the hole. You should see the cavity behind the wall.
Step Six: Run Your Wire
This is where it gets interesting. You need to get wire from the existing outlet to the new location.
If the existing outlet is on the same wall and not too far away, you might run the wire through the wall cavity. If it’s farther away, you might run it behind baseboards or along the ceiling.
Running wire through the wall: Use your fish tape. Feed it through the cavity from the source outlet to the new outlet location. Once it’s through, attach the new wire to the fish tape. Pull the fish tape back out. The wire comes with it.
Running wire along the surface: If going through the wall is too hard, run wire along the wall. Use wire staples to hold it in place every 16 inches or so. Cover it with a wire channel to protect it from damage. This isn’t as clean-looking, but it works.
New electrical wire usually comes in bundles of two or three wires bound together. One is hot, one is neutral, and one is ground. They’re color-coded. Hot wires are black or red. Neutral wires are white. Ground wires are bare copper or green.
Make sure you have the right gauge wire. Check your existing circuit to see what size it uses. Match it.
Bring the wire to both locations. You need enough extra wire at each end to work with. About 6 inches of extra wire on each side is good.
Step Seven: Remove the Old Outlet Cover Plate
Go to your existing outlet. Remove the cover plate by unscrewing the screws holding it. Set it aside somewhere safe.
Step Eight: Loosen the Existing Outlet
Unscrew the outlet from its box. It should come out a few inches. You’re not removing it completely, just pulling it out enough to work with it.
Step Nine: Connect the New Wire
This is where wire skills matter. Get your wire strippers. Strip about ¾ inch of the plastic coating off the end of each wire in your new cable.
You now have two wires coming out of the existing outlet. One is black (hot), one is white (neutral). The ground wire is bare copper. You have the same three wires in your new cable.
The hot wires (black) go together. The neutral wires (white) go together. The ground wires (copper) go together.
Take the black wire from your new cable. Twist it together with the black wire already in the box. Twist clockwise. Once they’re twisted together tightly, screw a wire nut onto them. Push the twisted wires back into the box.
Repeat this with the white wires. Twist them together. Add a wire nut.
For the ground wires, twist the bare copper together with the ground wire or ground screw in the box. If there’s no ground screw, use a wire nut.
Some boxes have a ground screw built in. If yours does, wrap the copper ground wire around it instead of using a wire nut. Tighten the screw firmly.
Step Ten: Reinstall the Existing Outlet
Push the existing outlet back into its box. Screw it back in place. Make sure it’s straight and sits flush with the wall.
Step Eleven: Install the Outlet Box for the New Outlet
Take your new outlet box. It should be the right size for your wall thickness. Slide it into the hole you cut. Some boxes have little tabs that grip the drywall. Adjust the box so it sits flush with the wall surface.
Step Twelve: Run Wire to the New Outlet Box
The wire should already be in place behind the wall. Feed it into the new outlet box. You want about 6 inches of wire sticking out of the box. This gives you room to work.
Step Thirteen: Connect the New Outlet
Strip about ¾ inch of plastic from each wire at the new location.
Get your new outlet. It has screws on the sides. The brass-colored screws hold the hot (black) wire. The silver-colored screws hold the neutral (white) wire. There’s a green screw for the ground (copper) wire.
Take the black wire and make a loop about the size of a dime. Hook this loop around the brass screw on the right side of the outlet. Tighten the screw firmly. Don’t overtighten. You’re not trying to crush it.
Do the same with the white wire on the silver screw on the left side.
For the ground wire, make a loop and attach it to the green screw.
Make sure no bare wire is sticking out beyond the screws. All the wire should be under the screw head.
Step Fourteen: Tuck Wires and Secure the Outlet
Gently push the outlet into the box. The wires fold up inside. Don’t force them. They should fit naturally.
Screw the outlet to the box. Use the screws that come with the outlet. They attach the outlet to the box itself.
The outlet should sit flush with the wall. It shouldn’t stick out.
Step Fifteen: Add the Cover Plate
Take your outlet cover plate. Slide it over the outlet. Align the screw holes. Screw in the cover plate screws. Tighten them until the plate is snug. Don’t overtighten.
Step Sixteen: Test Your Work
Now for the moment of truth. Go back to the electrical panel. Flip the breaker back on.
Go to your new outlet. Plug in a lamp or phone charger. Does it work? If yes, fantastic. You did it.
If no, don’t panic. Turn the power back off. Check all your connections. Make sure the wires are twisted together tightly and the wire nuts are on firmly. Make sure the outlet screws are tight. Try again.
If you still have no power, it’s time to call a professional. There might be a break in the wire or a bad connection somewhere you can’t see.
When to Call a Professional
Some electrical work is for professionals only.
Running a new circuit from the panel: If you need to connect to the breaker panel, hire someone. This requires specialized knowledge and permits.
Working with 240-volt circuits: Stoves, AC units, and dryers use 240-volt circuits. Don’t touch these yourself.
Major rewiring: If you’re rewiring an entire room or your whole house, get professional help.
Code violations: If you break a code or aren’t sure about local regulations, get professional advice.
Complex routing: If you can’t figure out how to route the wire without major wall damage, hire someone.
There’s no shame in calling a pro. Electricity is powerful. It’s worth getting right.
Common Mistakes to Avoid
Let me share some pitfalls people stumble into.
Not turning off the power. This is the biggest one. Never work on live circuits. Always check with a voltage tester.
Using the wrong wire gauge. If your circuit is 20 amps, use 12-gauge wire. If it’s 15 amps, use 14-gauge. Using the wrong size creates fire hazards.
Mixing up the wires. Black is hot. White is neutral. Copper is ground. Don’t swap them.
Loose connections. All wire connections need to be tight. Loose connections create heat and fire risk. Make sure wire nuts are on firmly. Make sure outlet screws are tight.
Overloading circuits. Don’t keep adding outlets to the same circuit. Eventually, you’ll plug in too many things and trip the breaker. If this happens regularly, you need another circuit.
Forgetting about grounding. The ground wire isn’t optional. It’s a safety feature. Always connect it.
Not using the right outlet type. Near water, use GFCI outlets. In bedrooms, use AFCI outlets. Don’t use basic outlets in these areas.
Skipping the cover plate. The plate isn’t just pretty. It protects the outlet from dust and damage. Always use one.
Tips for Success
Here are some things that will make your job easier.
Work during daylight. You need to see what you’re doing. Natural light is best, but good artificial light works too.
Take photos. Before you disconnect anything, take a photo. You can refer to it if you forget how things were arranged.
Label your wire. Use tape to label where each wire came from. This helps you remember what connects where.
Go slow. There’s no rush. Take your time. Double-check everything before you turn the power back on.
Ask questions. If you’re unsure about something, don’t guess. Ask a professional. It’s worth a quick phone call.
Keep your workspace organized. Know where your tools are. Keep wires untangled. A messy workspace leads to mistakes.
Follow the code. Your local building code exists for a reason. Follow it. When in doubt, check it.
Troubleshooting: What If Something Goes Wrong?
Your new outlet doesn’t have power? Let’s figure out why.
Check the breaker. Make sure it’s in the on position. Sometimes they flip on their own. If it keeps flipping, there’s a short circuit. Turn it off and call a professional.
Check your connections. Go back to both outlet locations. Make sure every wire nut is tight. Make sure every screw is tight. Tighten anything that’s loose.
Check for broken wire. If you ran wire through a tight spot, you might have damaged it. Look for cuts or tears in the plastic coating. If you find damage, that section of wire needs to be replaced.
Test the existing outlet. Make sure the outlet you tapped into still works. Plug a lamp into it. If it doesn’t work, the problem might be in the existing circuit.
Use a voltage tester. Plug your voltage tester into the new outlet with the breaker on. If the tester lights up, the outlet works. If it doesn’t, there’s no power getting to it.
Check the wire at both ends. Make sure all the wire connections are inside the boxes. Loose wires create problems. Make sure nothing is pinched or damaged.
If you’ve checked all these things and still have no power, it’s time to call a professional.
Upgrading Your Outlet Setup
Once you get comfortable with basic outlet installation, you might want to try more advanced things.
Add multiple outlets. You can install several new outlets on the same circuit. Just remember not to overload it.
Install special outlets. USB outlets let you charge devices without adapters. Smart outlets turn on and off remotely. They work the same way as regular outlets.
Upgrade to higher amperage. If you need outlets for major appliances, you might upgrade from 15-amp to 20-amp circuits. This requires a bigger breaker, which is a professional job.
Add outlets in different areas. Once you know how to do it, you can add outlets in your basement, garage, or anywhere else you need them.
The Bottom Line
Adding a power outlet is a learnable skill. With the right tools, the right knowledge, and respect for electricity, you can do this. Start simple. Maybe add one outlet. Gain confidence. Then try more.
Always prioritize safety. Turn off the power. Use a voltage tester. Follow the code. If you’re ever unsure, call a professional.
Your home will be more functional with more outlets. You’ll have fewer cords on the floor. Your devices will have proper places to plug in. It’s a practical upgrade that makes daily life easier.
Take your time. Do it right. Enjoy the results.
Your home will thank you.